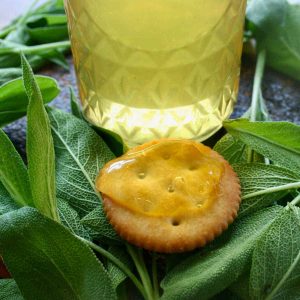
Recipe for Herbal Jelly - Pineapple Sage Jelly
Use up that fresh garden sage with this bright yet tart pineapple sage herbal jelly. The basic recipe remains the same no matter what fruit juice and herb combination you use. Instructions for canning the jelly follow the recipe.
Ingredients
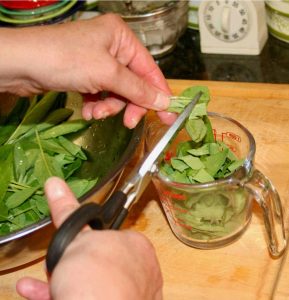
- 1 cup fresh sage leaves clean and chop the leaves
- 2 1/2 cups pineapple juice use 100% juice
- 4 cups Sugar
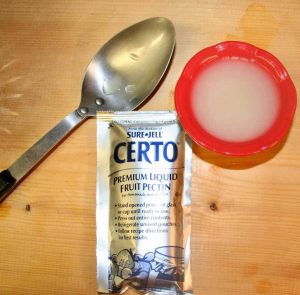
- 1 package liquid pectin use only liquid pectin - 3 ounces
- 1/4 cup freshly squeezed lemon juice
Instructions
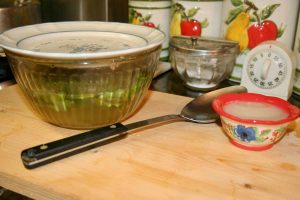
- Clean and chop the fresh sage leaves. Place one cup of leaves in a heat-proof bowl.
- Heat pineapple juice to boiling. Pour over the sage leaves. Cover and let sit until cool.
- Once cool, strain the herbs out, and place the pineapple juice sage in a large saucepan. Add the lemon juice and sugar, stirring over high heat until it comes to a boil.
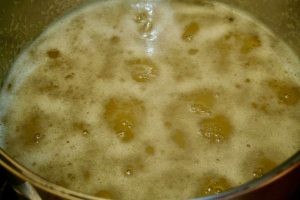
- Stir in the envelope of liquid pectin, squeezing it to get out every drop. Keep stirring the mixture and bring it to a hard, rolling boil over high heat. Heat and stir for one minute. Do not stop stirring or it might boil over!
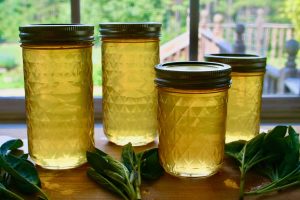
- Pour the jelly mixture into half-pint jelly jars. If you are going to can the jelly to preserve it for long storage, continue with the steps below. If not, allow the jelly jars to cool on the counter to room temperature, then refrigerate them for use. They will keep in the refrigerator for 3 months.
Processing the Jelly: Hot Water Bath Canning Method
- Heat a hot water bath canner with enough water to cover the jars by one inch of water.
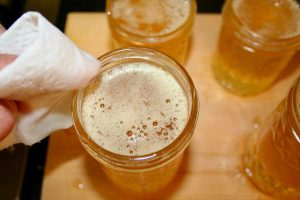
- Pour jelly into half-pint jelly jars leaving 1/2 inch of heat space.
- Wipe the rims clean with a moistened paper towel.
- Place warmed canning jar lids over each jar. Screw on the band to finger-tight.
- Place closed jars into the hot water bath canner. Make sure there is 1 inch of water covering the tops of the jars. Cover canner.
- Heat to boiling, then process for 10 minutes.
- Remove lid after 10 minutes to allow steam to escape.
- Take the jars out of the canner and place on a board or heat-proof surface until they seal.