It’s always good to have a motherwort tincture recipe on hand if you have started growing your own motherwort herb. If you’re anything like me, you want to preserve the harvest, and that goes well beyond preserving food. Having tincture that you have made yourself will not only give you a feeling of accomplishment, but it will help you grow your herbalism and self-sufficiency skills.
A Versatile Herb
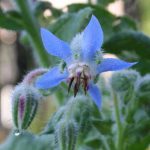
Throughout history, motherwort has been known as a versatile herb. Traditional cultures valued motherwort (Leonurus cardiaca) as the “heart herb,” traditionally used to support cardiovascular health, believed to strengthen the heart muscle and improve circulation. It was also known to ease stress.


A Basic Motherwort Tincture Recipe
Here I would like to share my basic motherwort tincture recipe. I typically use what’s called the “folk method” of tincturing, but there are other ways to make motherwort tincture as well.
Step 1: Harvest Motherwort
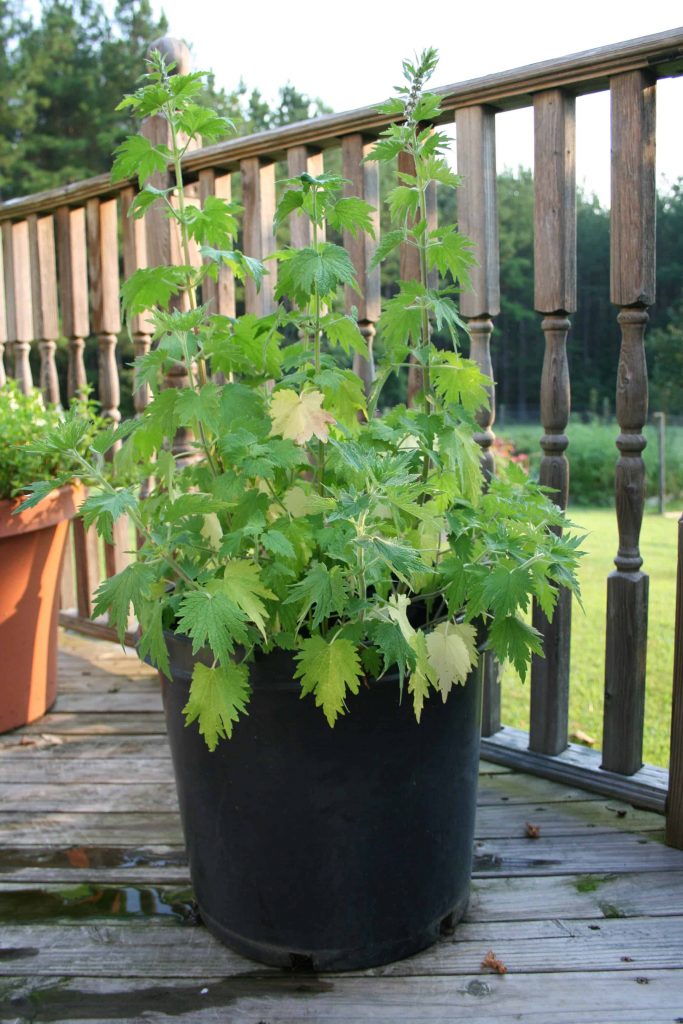
This may seem obvious, but it does require a bit of explanation. If you are using fresh motherwort, the time to harvest is while it is in bloom. If you wait until the flowers have died back, you will miss the window of time when the plant has the highest value.
Growing motherwort from seed is easy and can be done in pots, containers, or any garden soil.
Harvest the top third or so of the plant. Be aware of the prickly calyx under the flowers and consider wearing gloves so you don’t get poked.
The roots of this herb are not used for tincture making, though some other herbs have more value in the roots. You can also purchase dried motherwort herb from a reputable supplier, such as Mountain Rose Herbs (my personal favorite).
Step 2: Process the Herbs
Once you have gathered your fresh motherwort, make sure it is free from hitchhikers. Usually, if you lay the herbs in a box or on a table, the bugs will show themselves out. If you must rinse them, be sure they are thoroughly dry before moving on to the next step. Moisture in your tincture can cause mold.
Once your motherwort is clean and dry, chop it up into small pieces. I know you have probably seen pretty jars of whole herbs labeled “tincture”, but the most effective motherwort tincture is made from small pieces.
The flower and leaves of motherwort are the most valuable for medicine, but I just chop it up, stem and all. Other people take the time to pick off all the flowers, buds, and leaves. You can certainly do whichever you prefer.
Step 3: Fill A Jar
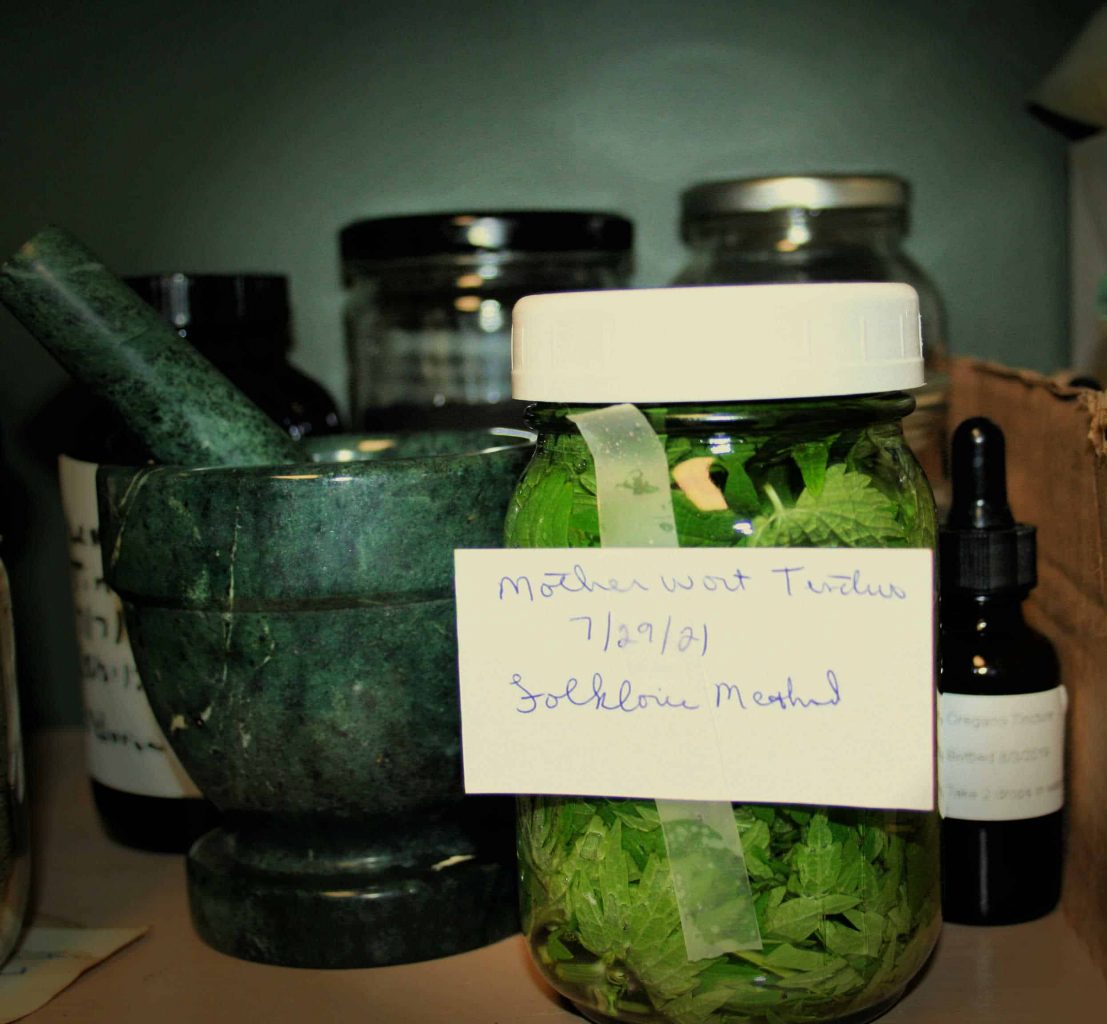
You can use any size of jar you want. I usually make quart jars of tincture but if you are just starting out, I suggest using a smaller jar. This will allow you to try motherwort tincture out and decide if it’s something you’d like to keep on hand. Be sure your dry is clean and dry.
Pack the jar about ⅔ to ¾ of the way with fresh chopped up motherwort herb. Be careful not to pack too tightly, because you want the menstruum to be able to saturate everything and move freely in the jar. If you are using dry herbs, fill the jar about half to ¾ of the way.
Now you add the menstruum, which is just a fancy word for solvent. I use alcohol (brandy or vodka), but there are types of tinctures that use other solvents too, such as vinegar. When using alcohol, you want a high proof because high proof alcohol will leach out more of the helpful compounds from the plant matter.
Most herbalists, such as Nancy Phillips in her wonderful book “The Herbalist’s Way” (Amazon affiliate link) recommend using 190 proof (95%) Everclear in tincture making. If you are using dried herbs, 40% alcohol is fine. However, if you can’t get it, just use the highest-proof vodka that you can find. Fill the jar to the top and cap it tightly. Label it with the contents and the date.
Step 4: Give It Time
At least once a day, shake your jar of motherwort tincture. Keep it out of direct light and keep it in a cool, dry location. After about four to six weeks, it should be ready to strain and use. However, it is fine to leave it longer. Once you have your jars filled correctly, they will last indefinitely. I have jars that I made three years ago after a particularly abundant harvest year.
Step 5: Decant
It’s the big day! Time to reap the rewards of your motherwort tincture recipe. There are a few ways to decant your tincture. Whatever way you choose, make sure you get every drop you can squeeze out.
I start out by putting a mesh strainer over a bowl, lined with cheesecloth. Carefully pour the tincture through the strainer, filling the bowl. Then allow the plant matter to fall into the cheesecloth.
Now squeeze the cheesecloth with the plant material in it until you get everything out that you can. If you don’t want to squeeze it out with your hands, you can press it through a potato ricer or an herb press.
Once strained, pour the tincture into dark glass bottles. I recommend using regular caps, and save the dropper tops for bottles in use. I have had the droppers clog over time, sitting on a shelf when submerged in tincture. However, this is totally up to you and how long you expect the tincture to sit.
Another Tincture Option
I want to address another option that some people may prefer. That is, an alcohol-free motherwort tincture recipe. Use apple cider vinegar instead of vodka or brandy as your solvent base.
Follow the same steps as above but fill the jar with your chopped motherwort. Then cover with vinegar. You can use just about any kind of vinegar you want, but don’t use regular white vinegar.
Keep in mind that vinegar tinctures are not as potent as alcohol tinctures, nor do they last as long. Refrigerate your tincture. Label it with the name of the herb and the date. If you notice mold or an off smell, discard it immediately. That goes for any herbal tincture. When in doubt, throw it out!
Now that you have a basic motherwort tincture recipe, enjoy tincture making. It’s a great life skill to have and a wonderful way to use motherwort.
Remember: Please consult with a qualified herbalist or your healthcare provider before taking this or any other herb. If you’re in doubt about the quality of your tincture, throw it out. You are responsible for your tincture-making results.
Disclaimer: The information provided in this article is for educational purposes only and should not be considered medical advice. Always consult a qualified healthcare professional before using any herbal treatments. The author and website assume no responsibility for any adverse effects or consequences resulting from the use of information presented here.
References
To learn more about motherwort herb and how to make motherwort tincture, please see the following references:
How To Make A Tincture: Using The Folk Method – Herbal Academy
How to Make Motherwort Tincture – West Virginia Public Broadcasting