

Learning how to grow butternut squash organically ensures you know how to grow this tasty, nutritious vegetable in your home garden. I’ll share with you some basic information on growing butternut squash, followed by some organic gardening tips that have been helpful for me here at Seven Oaks Farm in dealing with the various pests and diseases that sometimes plague winter squash.
Butternut Squash: Plant Profile
Botanical Name: Cucurbita moschata
Space Requirements: Requires 3–4 feet between plants and at least 6–8 feet between rows due to sprawling vines.
Light Requirements: Thrives in full sun, needing at least 6–8 hours of direct sunlight daily.
Soil Requirements: Prefers well-draining, nutrient-rich soil with a pH range of 6.0 to 6.8. Adding compost improves soil health.
Water Requirements: Requires consistent moisture; water deeply once or twice a week, ensuring the soil remains evenly moist but not waterlogged.
Fertilizer Requirements: Benefits from a balanced fertilizer (such as 10-10-10) at planting, followed by additional feeding with potassium and phosphorus during fruit development.
Raised bed vegetable gardens provide the ideal environment for growing butternut squash. You can grow it in pots and containers, but it will sprawl out over the rim of the pot. A trellis may be used to train the vines to grow up, but heavy squash may require extra support as it matures.
Companion Plants for Butternut Squash
Companion planting can enhance the growth and health of butternut squash by deterring pests, improving soil nutrients, and maximizing space. Here are some great companion plants for butternut squash:
- Beans – Fix nitrogen in the soil, benefiting squash growth.
- Corn – Provides shade and structural support for sprawling vines.
- Radishes – Help repel pests and loosen soil for better root development.
- Marigolds – Act as natural pest deterrents while attracting pollinators.
Avoid planting potatoes, pumpkins, or cucumbers near butternut squash, as they can compete for nutrients and attract similar pests.
Complete Guide to Growing Butternut Squash
Growing butternut squash is enjoyable and yields delicious, nutritious winter squash, perfect for soups, and other dishes. Success with butternut squash requires careful planning, adequate space, and consistent care throughout the growing season. I think this is one of the easiest vegetables to grow. We even have it growing out of our compost pile from seeds discarded from last year’s harvest!
Getting Started: Planting and Spacing
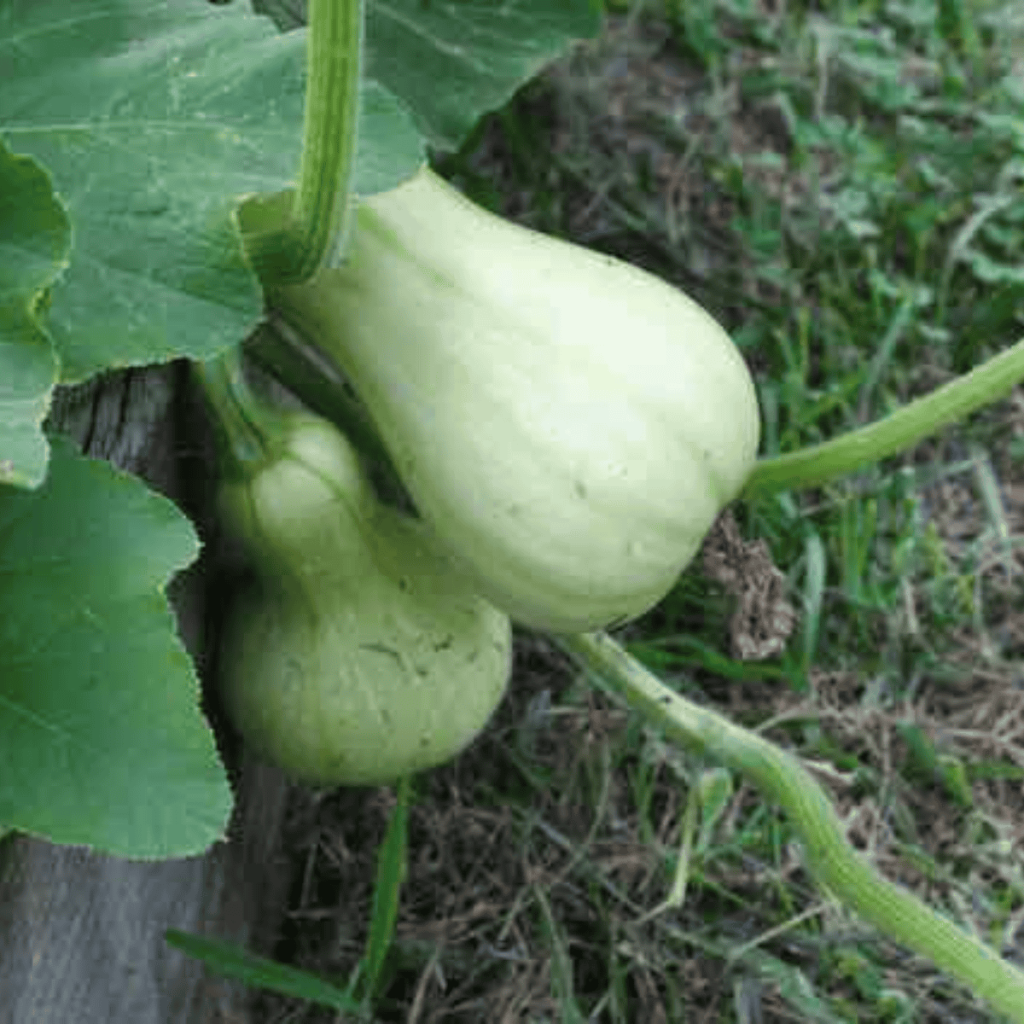
I sow butternut squash seeds directly into the raised beds as soon as we are past the last frost date for the region. (Look up your USDA growing zone to learn what that date is for your area in the U.S.) The seeds typically germinate within one to two weeks. The variety shown here is called “Waltham.” To choose a good butternut squash variety for your region, contact your local Cooperative Extension office. They usually have lists of varieties that tend to do well in a specific location.
Spacing is crucial for the healthy development of butternut squash. These plants require substantial room to spread their vine systems. Provide each plant with 3-4 feet of space in all directions, and maintain 6-8 feet between rows. This generous spacing prevents overcrowding, reduces competition for nutrients, and promotes proper air circulation that helps prevent disease.

Sun and Soil Requirements
Butternut squash thrives in full sun conditions, requiring at least 6-8 hours of direct sunlight daily for optimal growth and fruit development. Choose the sunniest location in your garden to ensure your plants receive adequate light throughout the growing season.
Soil quality plays a vital role in successful cultivation. Use rich, well-draining soil with a pH between 6.0 and 6.8 for best results. The soil should retain moisture while allowing excess water to drain away, preventing root rot and other moisture-related problems. Enhance soil fertility by incorporating compost before planting, which provides essential nutrients and improves soil structure.
Watering and Fertilization
Consistent moisture management is essential for the healthy growth and development of butternut squash. Keep the soil consistently moist but never waterlogged, as excessive moisture can lead to root problems and disease. Deep watering, once or twice a week, is typically ideal, as it allows water to penetrate deeply into the soil and encourages strong root development.
Proper fertilization supports vigorous growth and abundant fruit production. Apply a balanced fertilizer with equal parts nitrogen, phosphorus, and potassium (such as 10-10-10) at planting time. As the plants begin developing fruit, supplement with additional potassium and phosphorus to support healthy fruit development and maturation.
Pests and Organic Pest Control
I battle several pests each year that love my squash crop almost as much as I do. These include:
- Squash Vine Borers (Melittia cucurbitae): These larvae burrow into stems, causing wilting and plant death.
- Squash Bugs (Anasa tristis): They suck sap from leaves, leading to yellowing, wilting, and reduced fruit quality.
- Cucumber Beetles (Acalymma vittatum & Acalymma trivittatum): These beetles chew leaves and spread bacterial wilt disease.
Among the three, the squash bug is the worst in my Zone 7 Virginia garden. The cucumber beetle comes a close second. To outwith them without using chemical sprays, I follow crop rotation practices, changing the raised bed where I plant my squash each year.
I also pick squash beetles off by hand. I fill an empty coffee can or glass jar (such as a washed, dry, used spaghetti sauce jar) with water and about one tablespoon of dishwashing liquid. Simply flick the beetles into the water. Cover the container and let it sit for one to two days. The beetles drown. The soap makes it impossible for them to climb out of the water.
Two other organic methods to control pests on butternut squash plants are neem oil spray and row covers. Row covers consist of a special, lightweight fabric that allows light, air, and water to pass through the permeable membrane but prevents insects from passing through. Keep in mind that it also doesn’t let pollinators through, so you might want to use it only after the plants have set fruit (when you can see the little squashes developing where the flowers were on the plant).

Harvesting Your Crop
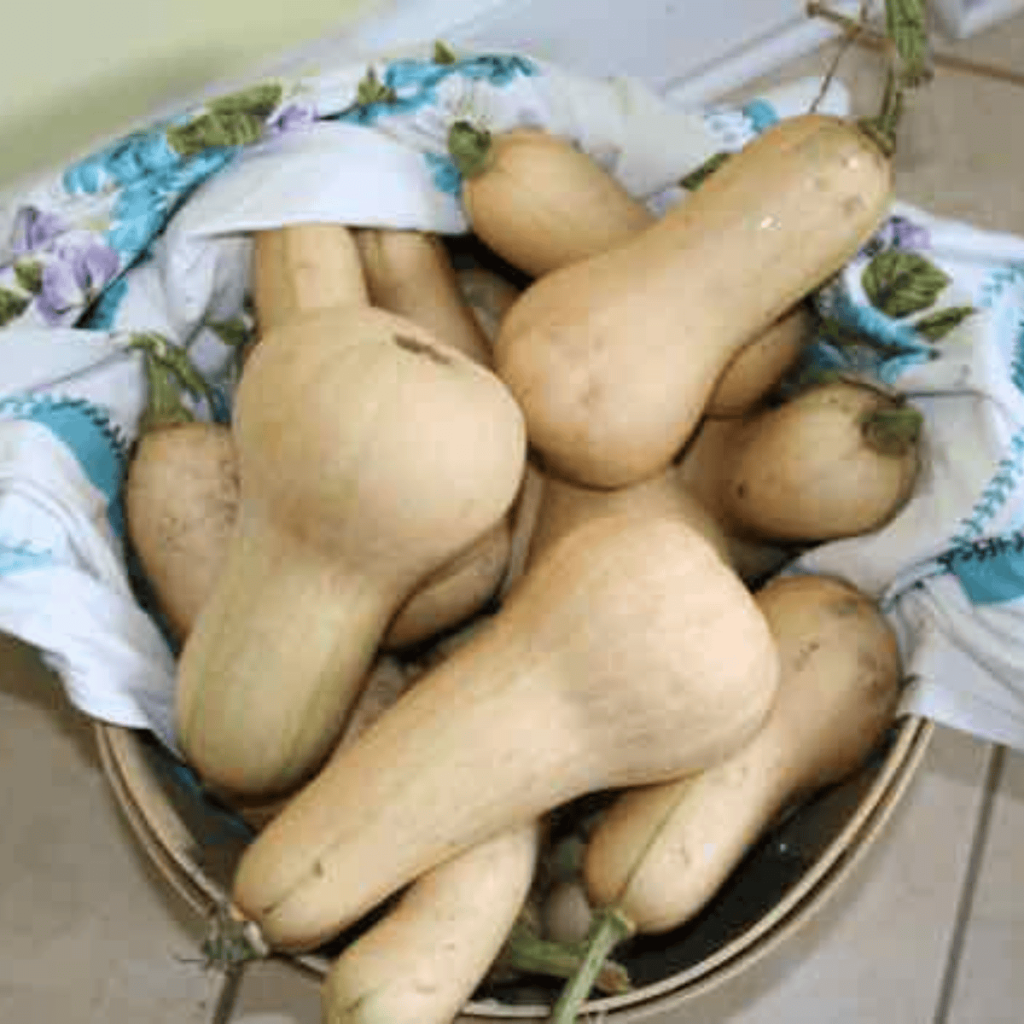
Knowing when to harvest butternut squash is crucial for optimal flavor and storage quality. Butternut squash is ready for harvest when the stem begins to turn brown and dry, and the skin hardens to a characteristic tan or orange color. The skin should be firm enough that you cannot easily pierce it with your fingernail. Harvest before the first hard frost, but allow the squash to remain on the vine for as long as possible to maximize sweetness and storage potential.
Curing and Storing Butternut Squash
After harvesting your squash, place it in a warm, dry area for several days to allow it to cure. Store your squash at room temperature or in a cool, dark place. Discard any squash that develops soft spots or mold.


[…] you grow your own butternut squash, this is the perfect recipe to enjoy the […]