Growing elderberry seemed like a great idea. I’ve wanted to grow this shrub or small tree for some time now, ever since I purchased a kit to make elderberry syrup from my friend Beth at Long Ears Herbs. The kit makes a delicious syrup, but I would love to have a good source of locally grown elderberries. Hence, my desire for growing elderberry!
I purchased two seedlings from Strictly Medicinal Seeds. The plants are of excellent quality, but unfortunately, the deer have taken to destroying the trees each spring. They’ve survived, but my dreams of big elderberry harvests haven’t materialized yet.
If you want to grow elderberry, here’s all you need to know to grow it right in your backyard.
Growing Elderberry: Plant Profile
Common Name: Elderberry
Botanical Name: Sambucus nigra (European elder), Sambucus canadensis (American elder)
Plant Type: Deciduous shrub
USDA Hardiness Zones: 3 to 9
Light Requirements: Elderberries prefer full sun with at least six hours of direct sunlight each day. In hot climates, they can tolerate some light afternoon shade.
Soil Needs: They thrive in moist, well-drained soil and adapt to various types, including loam, sandy, and light clay. Ideal pH ranges from slightly acidic to neutral, typically between 5.5 and 7.0.
Watering Requirements: Elderberries like consistent moisture, especially while young or establishing. Deep weekly watering during dry spells is helpful.
Fertilizer Requirements: Adding compost or organic matter in the spring is usually sufficient. If needed, apply a balanced, slow-release fertilizer, such as 10-10-10, once in early spring. Too much fertilizer can lead to leafy growth at the expense of fruit.
Growing Elderberry from Seeds
Elderberry seeds need a process called stratification, which mimics winter conditions. Place the cleaned seeds in a damp mix of sand or peat moss inside a sealed plastic bag and refrigerate them for 60 to 90 days.
After stratification, sow the seeds in a seed tray or pots filled with a well-draining potting mix. Keep the soil consistently moist and place the containers in a warm, sunny area. Germination can be slow, sometimes taking several weeks or even months, so don’t be discouraged by a lack of immediate growth.
Once the seedlings are large enough to handle, transplant them into larger containers or directly into the garden, ideally in spring after the danger of frost has passed.
Growing Elderberry from Seedlings
I purchased seedlings, which made the process a lot easier. If I had to do it again, I would have placed the plants closer to the house to discourage the deer. I also would have fenced them. We fence in the fig trees to keep the deer from eating all the fruit. Fencing deters them from shredding the leaves and branches of young trees and shrubs as well.
To plant elderberry seedlings, choose a location with full sun to partial shade and moist, well-draining soil. Dig a hole twice as wide and just as deep as the root ball. Gently remove the seedling from its container. Place it in the hole so the top of the root ball is level with the soil surface.
Fill the hole with soil, pressing it down lightly to eliminate air pockets. Water thoroughly after planting and add a layer of mulch around the base to help retain moisture and suppress weeds, keeping the mulch a few inches away from the stem.
During the first growing season, water regularly to keep the soil evenly moist, especially in dry periods. Consider planting more than one to ensure good pollination.
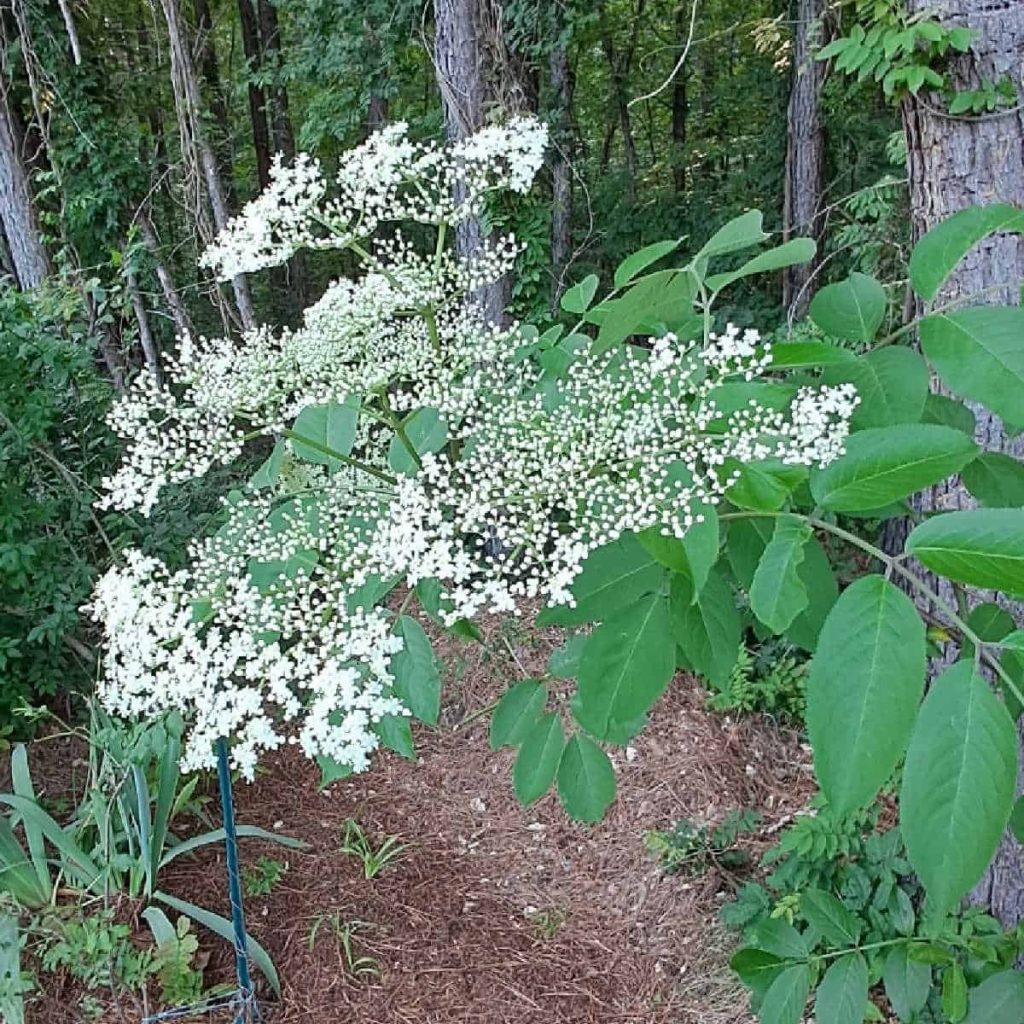

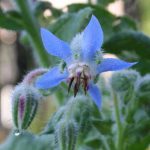
Beautiful Flowers – Useful Berries
Eldeberry flowers smell sweet. The plant blooms in the spring and attracts bees and butterflies. The berries ripen slowly and can be harvested when they are a dark purple color.
Drying elderberries is a great way to preserve them for later use in teas, syrups, or baking. First, harvest fully ripe, dark purple berries and remove them from the stems—unripe or green berries should be discarded, as they can be toxic. The leaves and stems of elderberry are also toxic. Rinse the berries gently and pat them dry with a clean towel.
Spread them out in a single layer on a mesh screen, dehydrator tray, or baking sheet lined with parchment. If using a dehydrator, set it to around 135°F (57°C) and dry for 10 to 12 hours, or until they feel leathery but not sticky. In an oven, use the lowest setting and prop the door open slightly to allow moisture to escape—it may take several hours. Air drying is also possible in a warm, well-ventilated, and dust-free area, though it can take several days depending on humidity.
Once fully dry, let them cool and then store in an airtight container in a cool, dark place. Properly dried elderberries can last up to a year or more. If you ever smell any musty or off odors, it’s best to discard them and start fresh.