

 The paths are shaping up! (and that’s my garden helper, Shadow, at left.) We finished about 75% of the cement work on the rock edging and this weekend, we finally found stones for the paths that we like. Guess what they are? They have the oh-so-sexy name of “Masonry Gravel” and were hidden among bags of cement at Lowe’s. Now why Lowe’s would put similar bags out in the garden area (where we were originally looking) and this one particular stone among the boring old bags of cement and mortar mix, who knows? All I know is that we stopped by Lowe’s before an evening out to dinner to pick up cement, and as John studied bags of cement I found the stones. They are close to what we wanted, so our plan is to buy a bag or two every time we go into town. How I’m supposed to lift a 50 bag of rocks I have no idea. I think the staff at Lowe’s is going to run the other way when they hear my cheery voice, “Excuse me – can you help me load this into my car, please?”
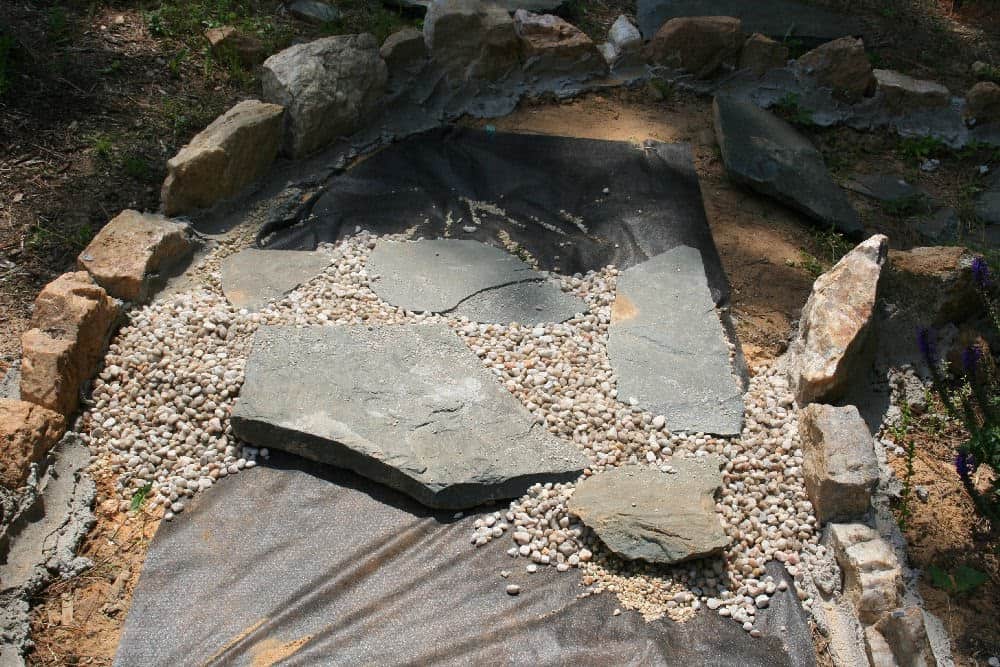
We are laying out rolls of landscape fabric, which is the dark-colored mat you see in the pictures. It’s tacked down with U-shaped metal stakes which hold it firmly in place. It kills weeds underneath and stops them from germinating. Next, we layer the pebble-gravel. The slates are different thickness, so we must rake the pebbles into place to ensure the pathway stones are relatively stable. Lastly, we brush off the stones and make sure the gravel flows to the cemented in place rocks edging the paths.
Already I am excited. That’s one nice, long strip I won’t have to weed this summer.
Building a Flower Garden in Two Years
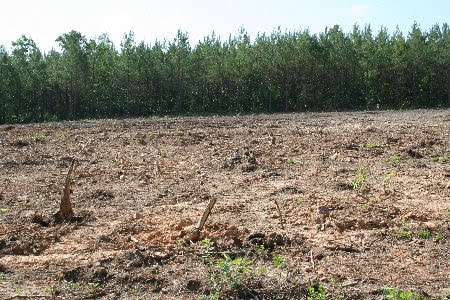
Before: a bare, steep slope of dirt, mostly red clay. Soil pH was about 3.5 – 4 to start with. The New York based lab called me when I submitted the soil sample; they wanted to know where it came from (considering they usually dealt with New York soils, that really does make sense – Virginia soil is different.). They had never seen such awful soil. The lab tech I talked to in 2006-2007 said the soil was completely devoid of organic matter and so acidic he wanted to know what had grown there before. He said, “You’ve got your work cut out for you.” I’ll say….
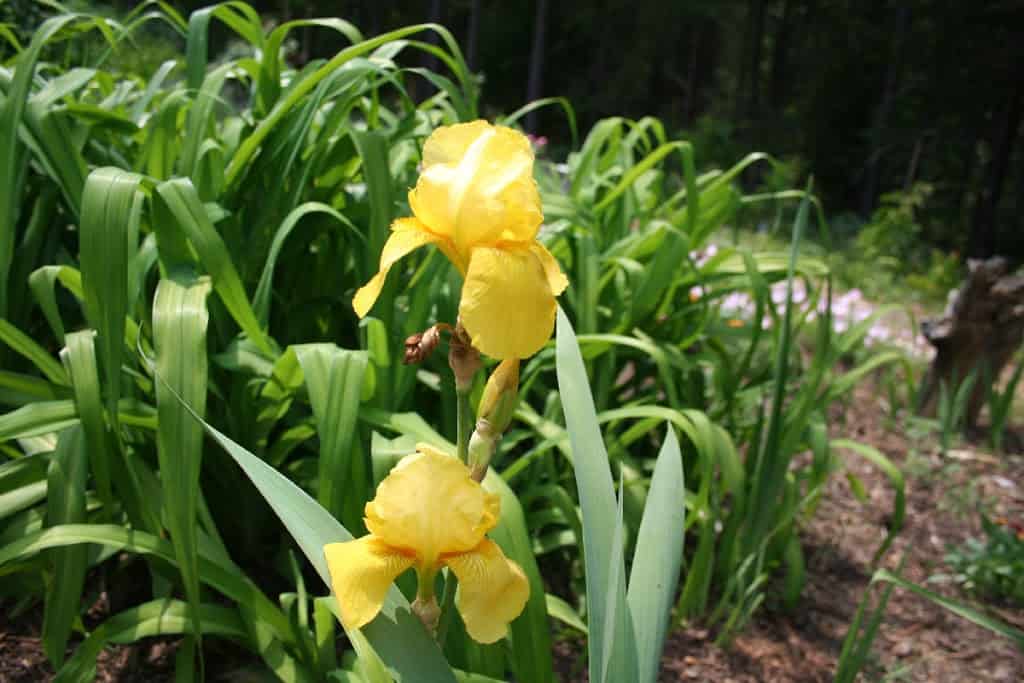
In March 2008, I used small stones to outline beds for the flower garden. I worked organic soil conditioner from Gardens Alive into the earth, lots of compost, horse manure, cow manure, and more compost into the slope. I planted perennial kits from Spring Hill Nursery. We began the endless buying trips to Lowe’s, adding whatever pleased us. And I grew most of the perennials from seeds. The rose garden plants were a birthday present in 2008.
In 2009, we shored up the hillside temporarily with thick pieces of wood. Rain washed the original sand bed under the slates right into the butterfly garden and woodland beds, killing lots of plants. Annoyed? You bet. Time for most compost….
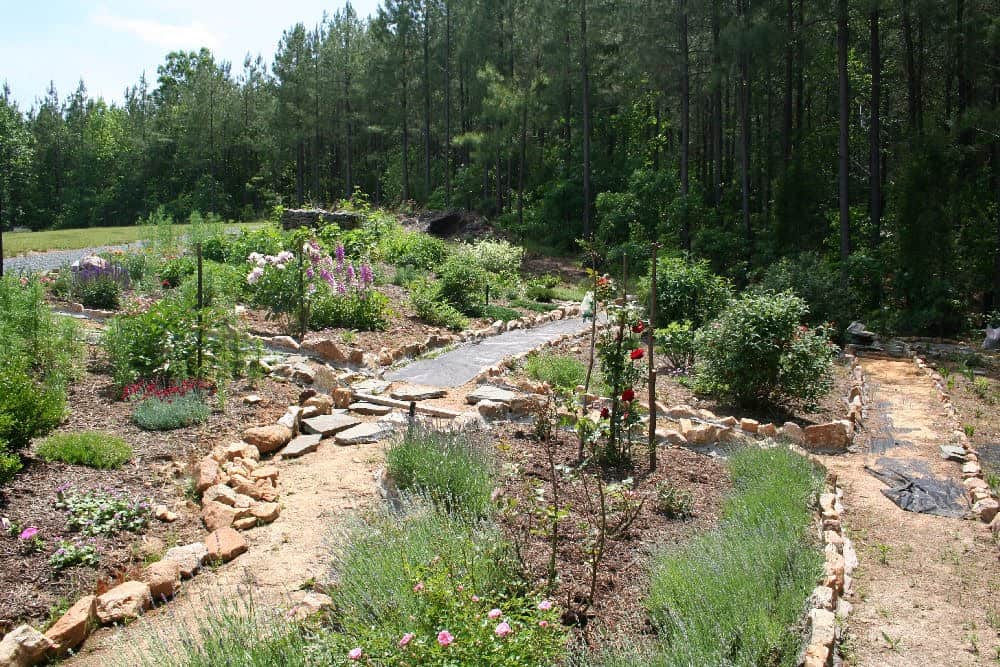
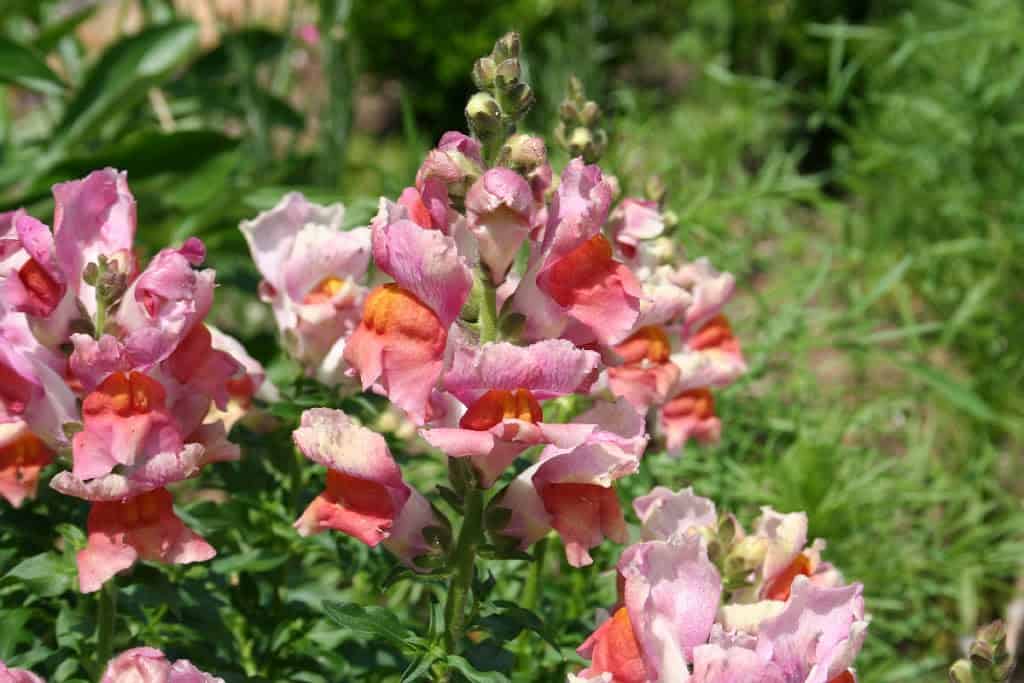
2010: the paths are shaping up. The perennials are thriving. I’m tucking new flowers this way and that way in among what’s there now, and we have so many volunteers I’m digging them up and moving them about. The wildlife loves the garden. While we worked this weekend, a huge frog hopped out of the butterfly garden (hope he wasn’t planning to EAT them) and I’ve seen large painted turtles and lizards of various kinds. Birds this weekend spotted in the garden include mourning doves, sparrows, goldfinches, and an Indigo bunting.
This is what two people (well, mostly me, with hubby on the heavy work and cement work) accomplished in just two years. If you’re dreaming about creating a garden, YOU CAN DO IT. I was a city kid. Yes, I was fortunate to grow up in a family who gardened as a hobby and with my next door neighbor Mr Hoffman who loved to garden and didn’t mind me tagging along. But I’m self taught. If I can do this, anyone can, including you. Grab your trowel and get your hands dirty! Go play in the dirt today!
Below – what it looked like in 2006-07 after the land was cleared – you are looking west, as if standing on the path pictured in the today photos.
TODAY – The garden this weekend. You can see the path with the fabric down in the upper left. You are looking southwest.


Great work, industrious, lots of vision …it will look so good when that path is finished. Congrats ! Gina
Your hard work is really paying off. Spectacular change. Funny about the soil tech. Sounds like you’re going to get to know the staff at Lowe’s well.