I’ve been growing Swiss chard on our farm for many years now. This easy-to-grow leafy green is chock-full of vitamins and nutrients. In fact, Dr. Joel Furhman, M.D., creator of the nutritarian diet, lists Swiss chard second only to kale in his ANDI index, which lists the most nutritious, low-calorie foods.
Swiss chard is easy to grow in most temperate garden zones. For the cost of a package of seeds, you’ll have plentiful fresh greens for smoothies and salads. It cooks quickly in oil or water, and can be used in place of spinach in most recipes. And when it gets really big, and the stems are tall and thick? Dice the stems and add them to a stir-fry in place of expensive, store-bought celery. Trust me. It’s good.
If I’ve convinced you to grow Swiss chard, let’s take a look at this wonderful plant.
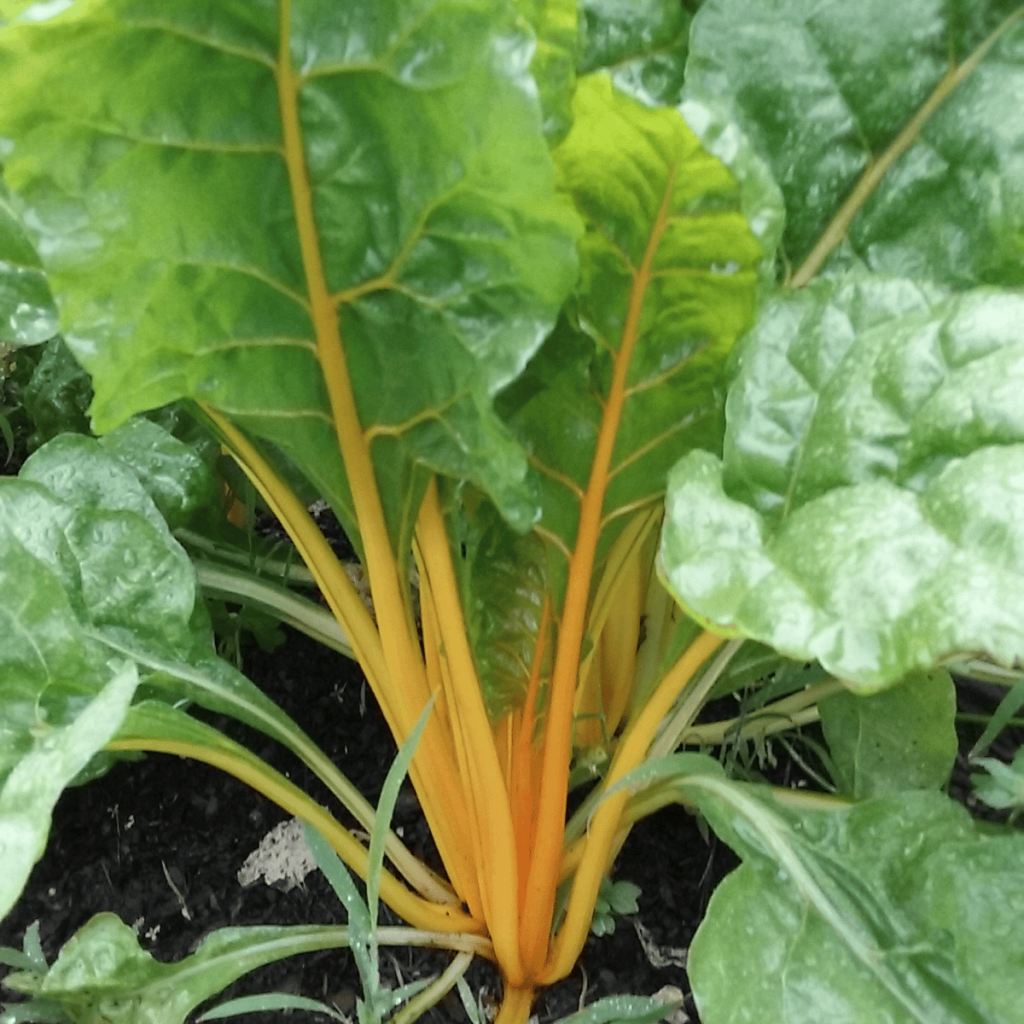
Swiss Chard Plant Profile
Botanical Name: Beta vulgaris subsp. cicla
Light Requirements: Grows best in full sun (about 6–8 hours daily). Can tolerate partial shade, which is helpful during hot Virginia summers and in other southern climates.
Soil Conditions: Swiss chard prefers rich, loamy soil with a pH of 6.0-7.0.
Water Needs: Swiss chard needs moist soil, so don’t forget to water it if you aren’t receiving one inch of rainfall a week. Soil needs to be moist to encourage seed germination.
How to Plant: Starts easily from seeds. Sow the seeds about eight inches apart and half an inch deep in spring, about two to three weeks before the last frost date for your USDA Hardiness zone. It tolerates heat and will often survive the summer without much fuss.
Pests and Diseases: The only pests I’ve seen on my chard are Japanese beetles and occasional whiteflies. I grow my chard organically, in raised beds, and just leave it. The Japanese beetles only last about two or three weeks; whiteflies don’t do much damage. I do see the occasional Hickory Tussock Moth caterpillar on the chard, especially in late spring. Be careful when harvesting and reaching into the leaves with your bare hands. Hickory Tussock Moth caterpillars are white and fuzzy. The fuz, however, has stinging barbs that hurt like heck when you touch them. Ask me how I know. While not venomous, they do leave a painful rash behind.
Growing Swiss Chard in Raised Beds, Pots, and Containers
Swiss chard isn’t fussy about where it grows. You can start seeds in pots or containers. I prefer growing mine in my raised bed vegetable garden. I plant about two rows of chard in two separate beds. This was enough for me to enjoy fresh chard leaves each morning in my smoothie and to pressure-can a batch for safe winter storage.
Purchase seeds in the spring. Plant chard by sowing seeds directly into the soil about two to three weeks before the last frost date for your region. The seedlings can tolerate a mild dip below freezing, but not a hard frost that lasts a few days.
Water the seeds regularly, and continue watering throughout the growing season. If there is one thing I have learned over the years about growing chard, it’s keeping it watered. It doesn’t like to dry out.
That’s it for growing it. When I said it was easy to grow, I meant it! No fertilizer, no special care, just plant the seeds, water, and nutritious vegetables are yours within a few weeks. You do not need to spray it with pesticides, either. It truly is one of the easiest vegetables to grow.
Swiss Chard Varieties
There are many varieties on the market. I love growing “rainbow” chard. The colorful stems are beautiful in the garden and sport shades of red, gold, white, and pink. All chards are equally nutritious and the growing conditions the same, so take your pick of which variety strikes your fancy.
Some common varieties to grow include:
- Bright Lights
- Fordhook Giant
- Ruby Red (Rhubarb Chard)
- Rainbow
- Lucullus
- Silverado
I’ve grown all of the above except Ruby Red, and I have found that “Bright Lights” is the best producer in my garden. “Fordhook Giant” was also good in Zone 7B. Experiment – with seeds so inexpensive and easy to grow, you can take a chance with different varieties and still harvest abundant chard.
Harvesting Chard
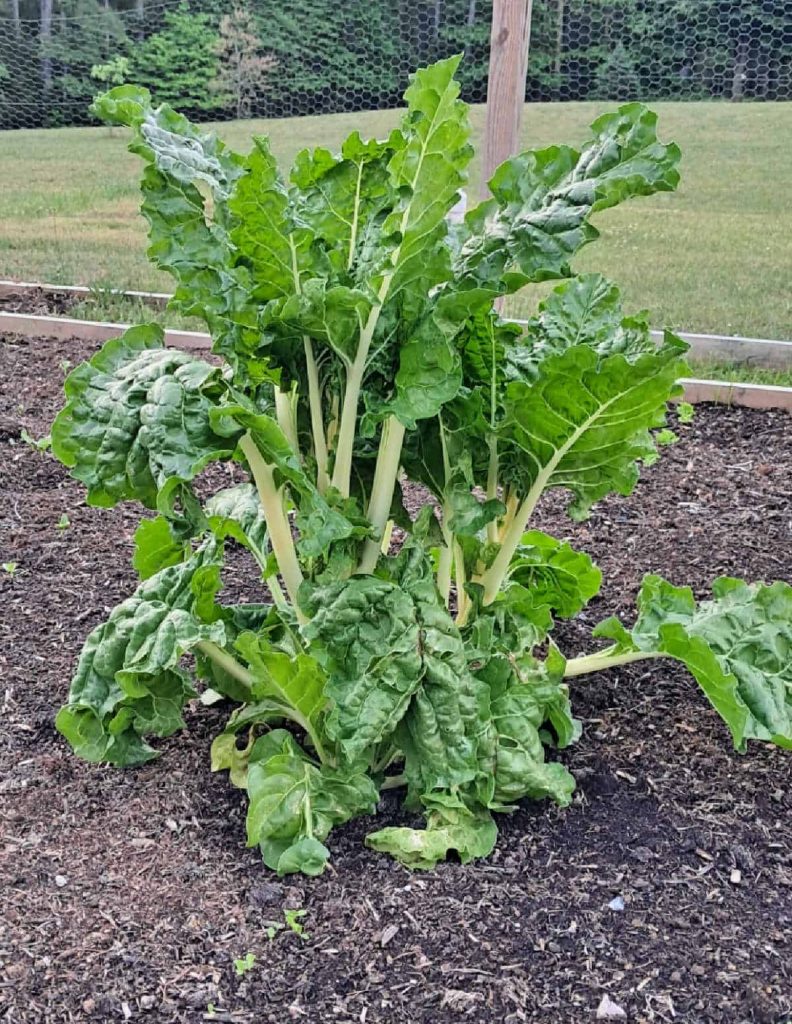
Swiss chard can be eaten at almost any point during its growth. Leave a few inches of leaves on the plants at all times. Plants produce their own food through photosynthesis, which occurs in the leaves. If you cut off too many leaves, you may not leave the plant with enough leaves to survive.
To harvest your Swiss chard, wait until the leaves are four to five inches tall. Take a pair of sharp scissors and a bowl to the garden. Snip the leaves off at ground level or an inch or two above ground level. Place each leaf in the bowl. When you bring the leaves inside, rinse them thoroughly under cool, running water.
Saving Swiss Chard Seeds
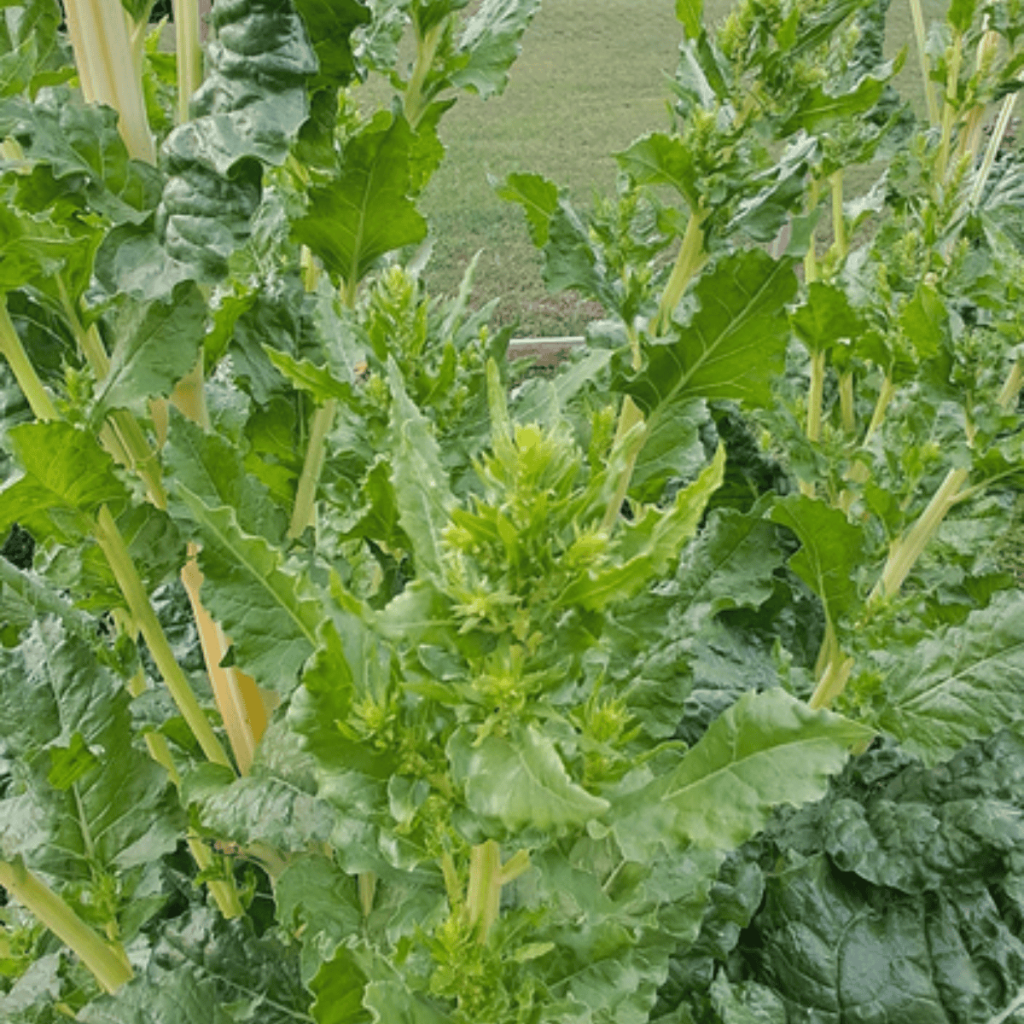
Swiss chard is fussy about when it flowers. This year, I was lucky. I had left one plant in the ground at the end of the fall. We had a long, extended cold period, which is unusual in Virginia. These conditions – extended cold below 40 degrees – are ideal for encouraging chard to bloom.
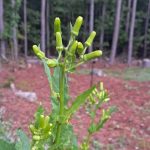
The plant produced tall, spiky florets of small flowers. It was by itself, however, and needed another for pollination. I was in luck again, as a second plant in a nearby bed decided to bloom. Chard is wind-pollinated, so the breeze should, theoretically, pollinate my plant.
The plant grew so heavy with flowers that it toppled over. I’ve left it where it is. I have since learned that staking flowering chard is advisable. Wish I’d read that before.
I am now waiting to see if I have seeds. Chard can cross-pollinate with beets and with all other varieties, so if you want to breed plants true to variety, be sure to have only one variety in the garden.
Enjoying Swiss Chard: Recipes
I mentioned using Swiss chard in place of spinach, and it’s a great use of it. The consistency of cooked chard is similar to spinach. The taste is a little more bitter, but most people, myself included, enjoy it. I also add the leaves to smoothies, using chard instead of spinach.
A lovely plant! Happy Thursday♥