This strawberry jam recipe is a great first jam recipe if you’ve never made jams, preservers, or jellies before. You can use strawberries from your garden if you are growing strawberry plants or purchase strawberries at the farmer’s market or supermarket.
Making Strawberry Jam: The Basics
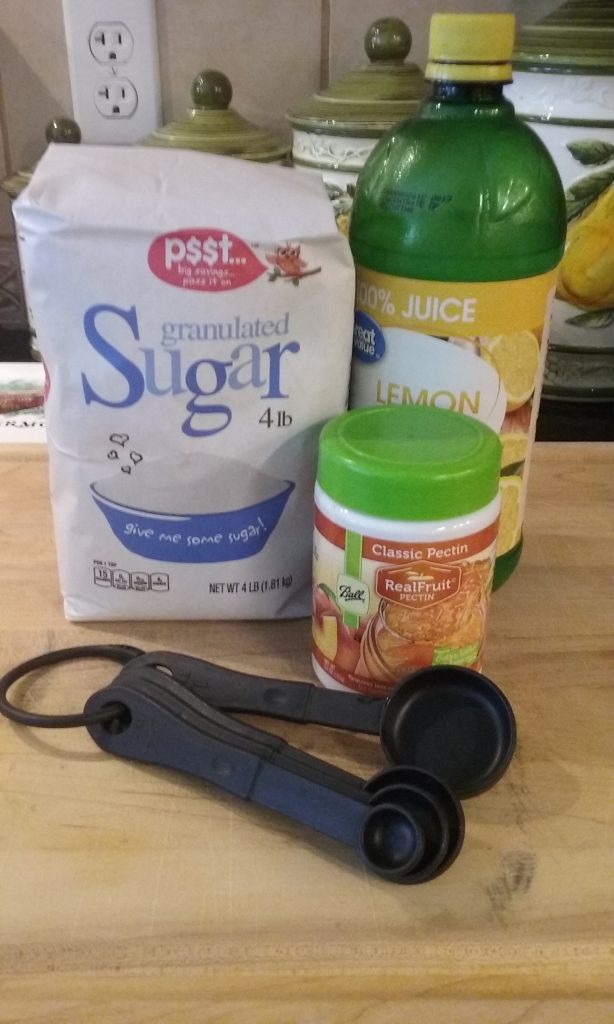
Strawberry jam contains strawberries, sugar (a lot of sugar), powdered pectin, and lemon juice. That’s it. Allow about two hours from the start to the finish to make strawberry jam.
You will need a hot water bath canner. This is a large pot with a tight-fitting lid and an insert that keeps the canning jars off of the bottom of the can. It allows water to circulate freely around the jars. Fill the canner with water so that it will cover the tops of the jars by at least 1 – 2 inches.
I use the Ball Canning Accessory kit and love it. It has a special funnel to keep the jam from spilling when I spoon it into the jars, a special set of tongs to hold hot jars, and other tools such as a magnetic lid lifter.
You will need a large, heavy stock pot in which to cook up the strawberry jam recipe and a small pot with water to heat up the lids.
I use a piece of scrap board to keep my hot jars off of the granite countertop in my kitchen and a large cutting board as my work space.
Jars for Strawberry Jam: Use Canning Jars
Always use proper “canning jars” or glass jars made for preserving foods when canning produce or making jams, jellies, and preserves. I prefer Ball (R) brand jars but have used others as well. You will need 8 half pint jars; these are sold at most major stores nationwide including large “big box” stores, grocery stories and the like.
If this is the first set of jars you’re buying, they come with the full lid. Lids consist of two parts: a screw-on band and a flat lid with a seal on it. When you open your final jam jars, you break the seal. Y
ou can re-use the rings and the glass jars for future canning projects but the flat part must be replaced after you are finished enjoying the contents of the jars. You can’t use the flat lid for another canning project later on.
Replacement lids are sold separately and are inexpensive, about $2 or less for a pack of 12.
The last pieces of equipment are common kitchen items you should have on hand: a sharp knife, a colander, a cutting board, measuring cups, and a manual potato masher. A potato masher? Yes, I’ll explain that part in a bit.
My Secret Strawberry Jam Tool: A Drinking Straw
Here’s my secret tool: a plain old drinking straw. Make sure you have one on hand. It will be a BIG time saver!
Strawberry Jam Recipe
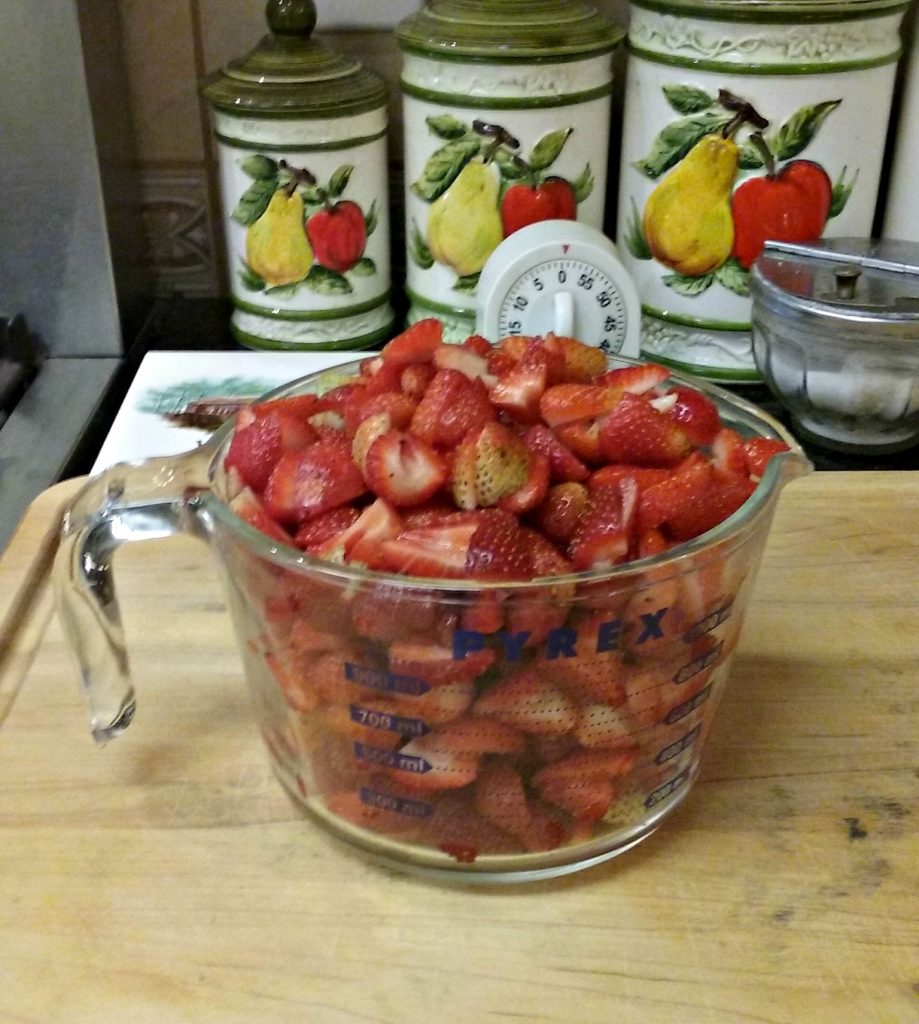
The following ingredients will make 8 half-pint jars of jam. This is a simple strawberry jam recipe.
Four cups of fresh strawberries.
Seven cups of sugar
1/4 cup of lemon juice
6 tablespoons of Classic Pectin
First, get all your equipment out. Set the canning pot on the stove and fill it with the water you’ll need. Wash the canning jars and lids and fill the empty, clean jars with water. Submerse them in the canning pot and gently heat the water while you work.
Place the screw bands on a plate separately.
Place the flat lids in the small pot with water. These will be heated when you make the jam and before placing them on the containers.
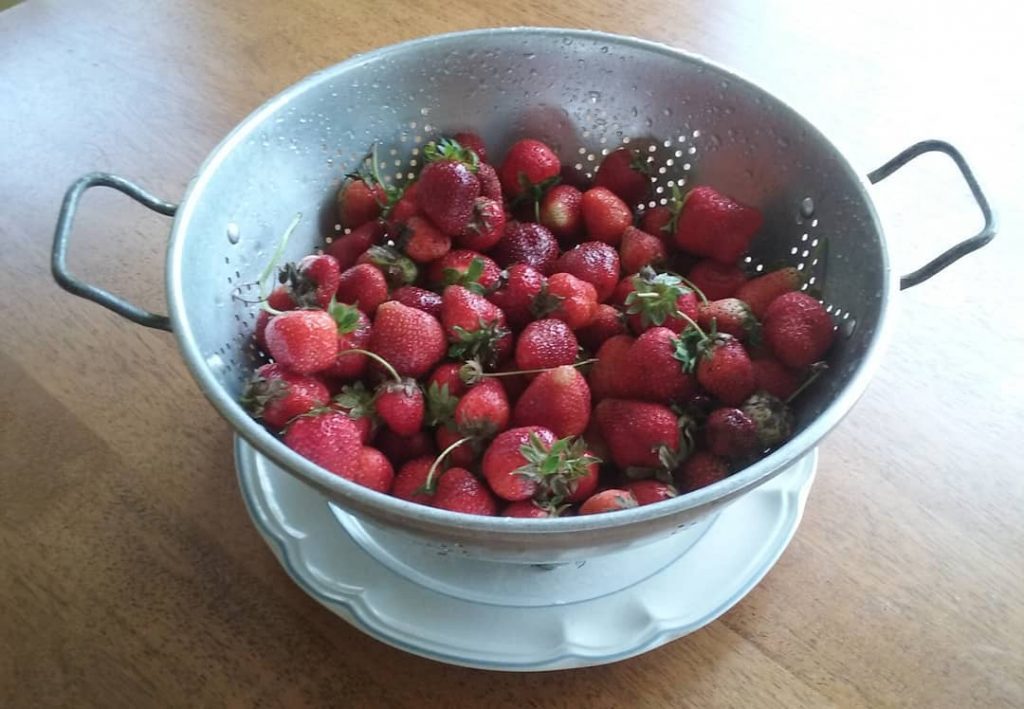
Now, wash off the strawberries and place the clean ones in a colander. I sit at the kitchen table to hull and cut the strawberries up. I place the clean berries in the colander and use the empty saucepan where I plan to cook the jam for my hulled and cut berries.
To prepare the strawberries:
- Cut the tops off
- Use the straw to hull each strawberry. Insert it into the core of the strawberry and push it through. When the straw is full of cores, simply squeeze them out over the trash! (Told you this was a huge time saver. You can also core them by hand, but the straw method is so much faster.)
- Slice strawberries into quarters or for very large berries, smaller pieces.
- Continue until all the fruit has been prepared.
- Place the tops and hulls/cores into the compost pile.
Now place the sauce pan full of berries over the stove and heat gently. While the berries are heating, use your potato masher to mash them up good. Make sure they are all smushy and smashed!
Add the lemon juice and continue smashing.
Turn the heat on HIGH on the burner to bring the mix to a boil.
Now, stir in the pectin, one tablespoon at a time, stirring until the liquid comes to a full boil. Once it boils, stir in the sugar all at once, and keep stirring. You may need a potholder on your hand because the spoon becomes hot.
Bring the mix to a hard, rolling boil such that you can’t stir it down – it keeps boiling. Boil for one full minute, stirring constantly.
Warm up the jar lids now in the water. Just turn on the heat on low and let them get warm. There is no need to boil them.
Turn off the heat. Carefully remove the jars from the water bath canner, tipping the water back into the canner. Place the empty jars on the board. Use your funnel and ladle the jam liquid into each jar. Skim the foam off the jam mix before spooning it into the jars if there’s a lot of it.
Leave 1/2 inch of space between the top of the jam and the top of the lid.
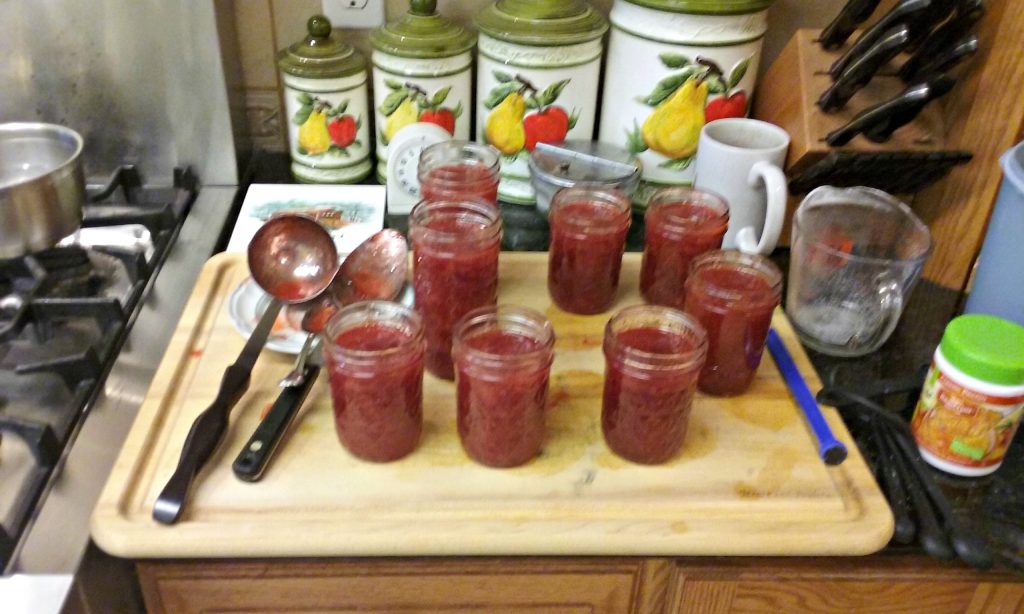
When each jar is full, use a damp paper towel and wipe off any spilled jam from the jars. Use your magnetic lid lifter tool to lift out each warmed jar lid onto each clean rim of the filled half pint jar.
Screw the screw band lid onto the jar by hand. You don’t need them super tight; just as tight as you can naturally make them.
Place each filled jar with the lid screwed on back into the hot water bath canner. When all the jars are in the water, put the lid on the canning pot and raise the temperature until the water boils.
Process the batch of jam jars for 10 minutes. After 10 minutes, remove the lid, let the pot sit for 10 minutes before removing each jar carefully, using a jar lifter tool. Let them cool on a board for 24 hours. Label, date and enjoy!
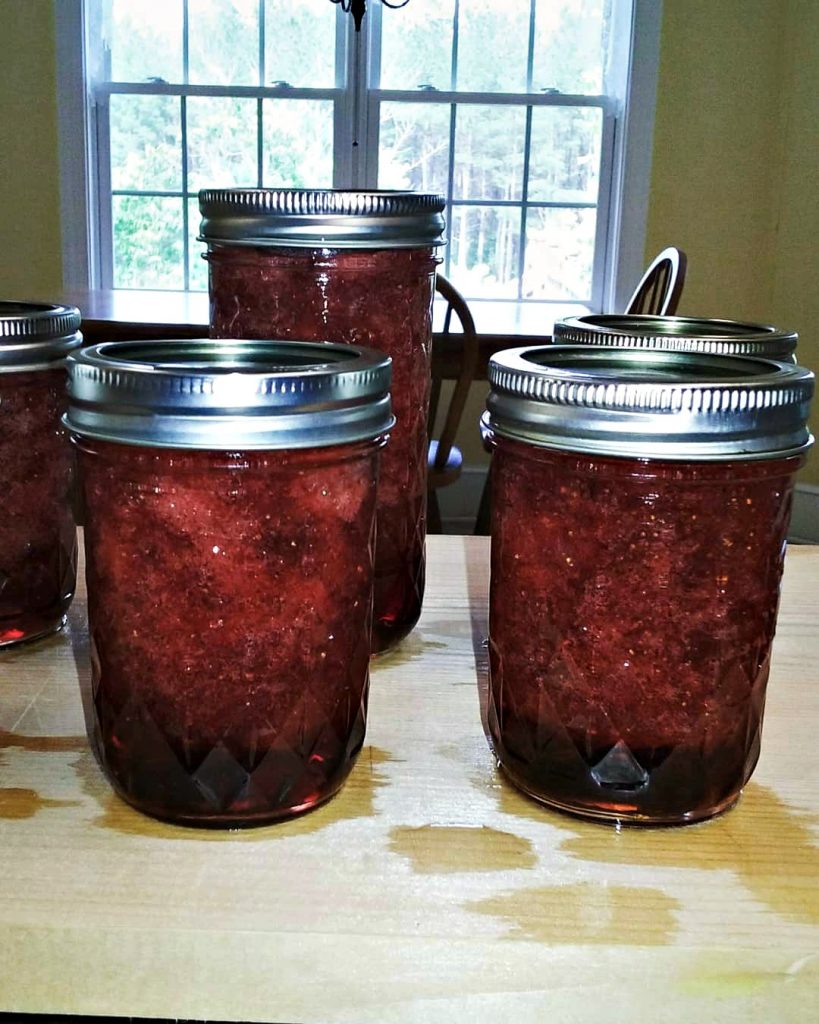
Make sure your jars are sealed. In the center of the metal lid is a button that’s pushed up when you place it on the jars. When the jars seal, the change in pressure pushes the button IN and the jar makes a hissing or PINGing sound.
If you are in doubt about whether a jar has sealed properly or not, put it in the fridge and enjoy it within two weeks of creating your strawberry jam batch.
For more information about canning, speak with your local Cooperative Extension office. My favorite resource for canning in the Ball Book of Home Preserving and I highly recommend it. This is the book that I used to teach myself how to make jams, jellies, and can vegetables. You can, too.
Enjoy!
MORE RESOURCES FOR STRAWBERRIES – GROWING STRAWBERRIES
- Growing Strawberry Plants
- How to Grow Strawberries Using Organic Gardening Methods
- Keeping Birds Out of the Garden
- Winter Preparation for Strawberries
- Strawberry and Cream Cake Recipe
This recipe also works very well with my Easy Crepe Recipe. Use fresh strawberry jam as a filling for the crepes for an elegant breakfast.