
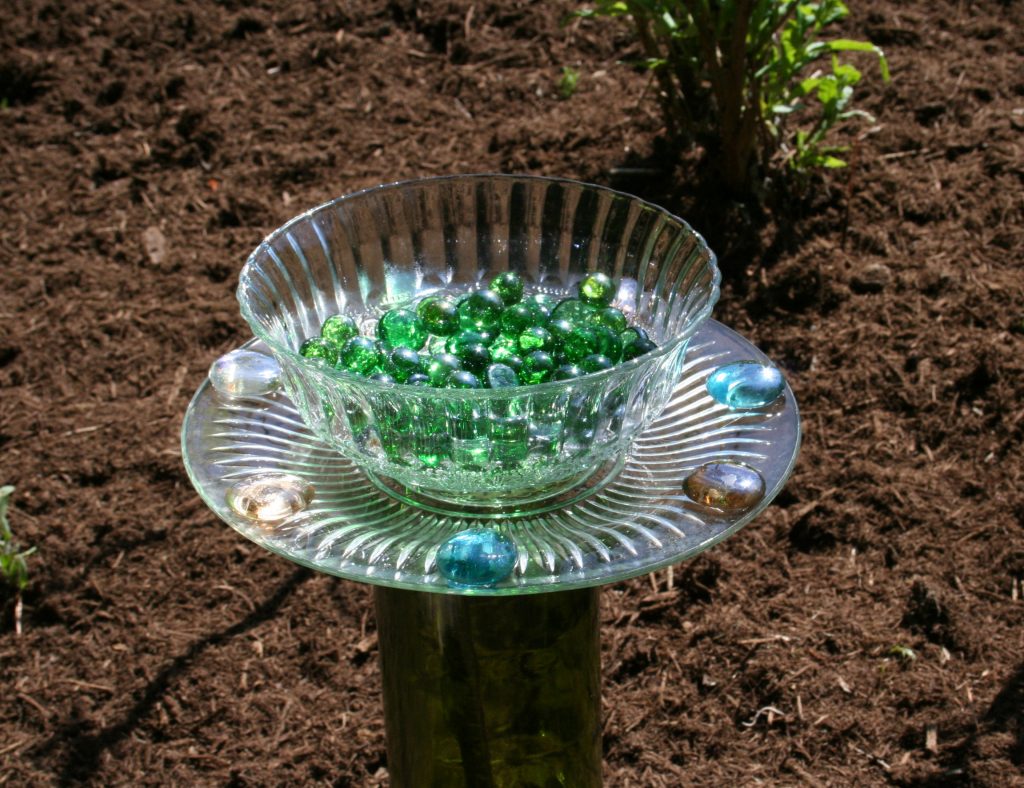
I made this pretty little bee and butterfly watering station for my butterfly garden using recycled items and dollar store finds. I spent a total of $5 on the items, not including the wine (which was yum) and the rebar (which was left from another home remodeling project). This project takes just under an hour and adds an attractive focal point for your garden.
Why Bother Adding Water for Bees in Your Garden?
Bees find water everywhere. They’ll pick up water from garden pots, saucers, and other sources and carry it back to the hives. In the winter, this is essential to dissolve crystallized honey for nourishment.
Foragers are the bees you see flying around the gardening. These busy little bees seek pollen and water. They fill the sacs on their legs and transfer it to house bees at the hive. Once the house bees refuse to accept any more, they know the hive has enough water, and return to foraging for pollen for food.
Bees find water by scent rather than by sight. That’s why they like slimy water in pots or saucers. But unfortunately, it also means that sharp scents of chlorine and sodium near swimming pools attract bees to pools, spas, and hot tubs. Not only is this water unhealthy but bees can drown in it.
Adding a little bee watering station like this one and letting it get a little moss in it will help bees find it and use it.
How to Make a Bee Water Station with Dollar Store Finds
This project requires only glue and a hammer to pound the stake or rebar into the ground. That’s it! How easy is that?
You’ll need to visit your favorite dollar store for these items:
- 2 bags of glass pebbles, one with flat bottoms and one round, like marbles.
- 1 bag of large flat glass pebbles
- 1 large glass plate
- 1 large glass bowl
You will also need:
- A round dowel or piece of rebar approximately 12-18 inches long
- A hammer to hammer in the rebar or dowel
- Glue. I recommend E6000 glue. It is an industrial strength glass glue and holds well in outdoor conditions.

The wine bottle is a large port bottle we recycled. If you do not drink wine, use another bottle purchased from the dollar store. Our dollar store has decorative kitchen bottles like oil and vinegar bottles in various colors that would look so pretty in the garden.
I had a piece of rebar in the garage, probably from when our house was built, but you don’t need to use rebar. A sturdy wooden stake that fits into the neck of the bottle, a dowel, or recycled pole would work just as well. You may need to cut it to size.
That’s it. Now let’s get crafting!
Before assembling the base, test to make sure the dowel or rebar fits inside the bottle. If it does, proceed, if not, find another one that fits.

Assemble the Base
- First, remove the label from the wine bottle and the glass bowls. I just used hot water and a paint scraper to get the labels off.
- Next, dry thoroughly.
- Place the bowl open-side down on a table. Spread glue liberally on the base, following directions.
- Center the plate over the glue and bowl and push down.
- Let dry about one hour.
- Next, spread glue on the bottom of the plate.
- Put the bottom of the wine bottle on the plate. Push down gently. Let dry for several hours.
- While the glue dries, head out into the garden. Use a mallet or hammer to drive the stake or rebar into the ground.
- When the bottle base is dry, bring it to the garden. Flip the bottle so that the neck slides onto the rebar or dowl. No glue needed – it stays in place nicely!
- You can glue decorative flat glass rocks onto the plate if you like as I did or leave them off. Fill the bowl with flat bottom glass pebbles first, then the round pebbles. Add water and a bit of moss to make it attractive to bees.
I hope you enjoy your little bee watering station! Here’s to gardening with dollar store finds.


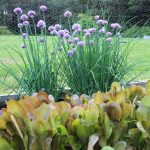
I love this idea! Thanks for sharing, Jeanne. I’m going to add one to my little kitchen garden and one to my larger herb garden that’s further from the house. I had never thought about bees drinking the water in our pool (which is only up in the summer), but I don’t want that!
One thing I wanted you to know … I’m reading your blog on my iPad, so maybe that’s the problem, but on the landing page (I did a google search on Christian Herbalists, because like you, I get so weary of reading about goddesses and all that on every other herbal site, so iit probably brought me to your home page) the Google Ad in the center of the page prevented me from reading two or three lines. Maybe it was just a glitch this time, but I thought you’d want to know.
I’ll have to check out your Facebook page! Nice to meet another Christian herbalist. 🙂
Thanks Shannon!