• Skip to primary navigation
  • Skip to main content
  • Skip to primary sidebar
  • Skip to footer
Home Garden Joy
  • Home
  • How to Garden
    • Seed Starting
    • Plant Profiles
    • Tools & Equipment
    • Raised Bed Gardening
  • Vegetables
  • Fruit
  • Herbs
  • Preserve the Harvest
  • About
    • Books & Classes
      • Herbalism Classes
      • Indoor Herb Gardening
      • Books for Christian Herbalists
      • Privacy Policy

Best Popover Recipe

December 26, 2022 by Jeanne

This is the best popover recipe ever! It was easy to make and turned out delicious popovers. This was my first time making popovers, and I can’t remember the last time I had one, so I wasn’t sure what to expect. As usual, I turned to my trusty Fannie Farmer 13th Edition Cookbook and found the perfect recipe. The results are below. Try it!

The Best Popover Recipe Is the Fannie Farmer Recipe

Longtime readers will know that I am partial – okay, highly partial – the Fannie Farmer Cookbook. The original Boston Cooking School cookbook, which became the Fannie Farmer Cookbook, was published in 1894. You know, when people actually knew how to cook without a zillion gadgets…

This old-fashioned recipe uses the same simple ingredients as many other popover recipes online: eggs, whole milk, butter, flour and salt. That’s it.

a woman holding a popover with the cream interior revealed and two other popovers on a plate

Best Popover Recipe

This easy recipe is surely the best popover recipe available. Not only is it simple to make, but it results in old-fashioned popovers, the kind with a crusty outside and rich, creamy interior. The secret: start with a cold oven. That's it.
Print Recipe Pin Recipe
Prep Time 5 minutes mins
Cook Time 30 minutes mins
Servings: 12 popovers
Course: Breakfast, Side Dish
Ingredients Method

Ingredients
  

  • 2 large eggs
  • 1 cup milk
  • 1 tablespoon melted butter
  • 1 cup all purpose flour
  • 1/4 teaspoon salt

Method
 

  1. To make these popovers, start with a cold oven. Butter a muffin tin and then spray it with baking spray (trust me, you need both).
  2. Melt the butter. Whisk in the eggs, then the milk, flour and salt. Mix thoroughly.
  3. Pour the batter into the buttered and sprayed muffin tins, filling them halfway.
  4. Slide the pan into the cold oven. Turn the temperature to 450 and bake for 15 minutes (the oven will heat very gradually; that's exactly what you want).
  5. After 15 minutes, turn the temperature of the oven to 350 and bake for another 15-20 minutes.
  6. Remove from the oven and allow to cool, then remove from the pan/

Tips for Making Great Popovers

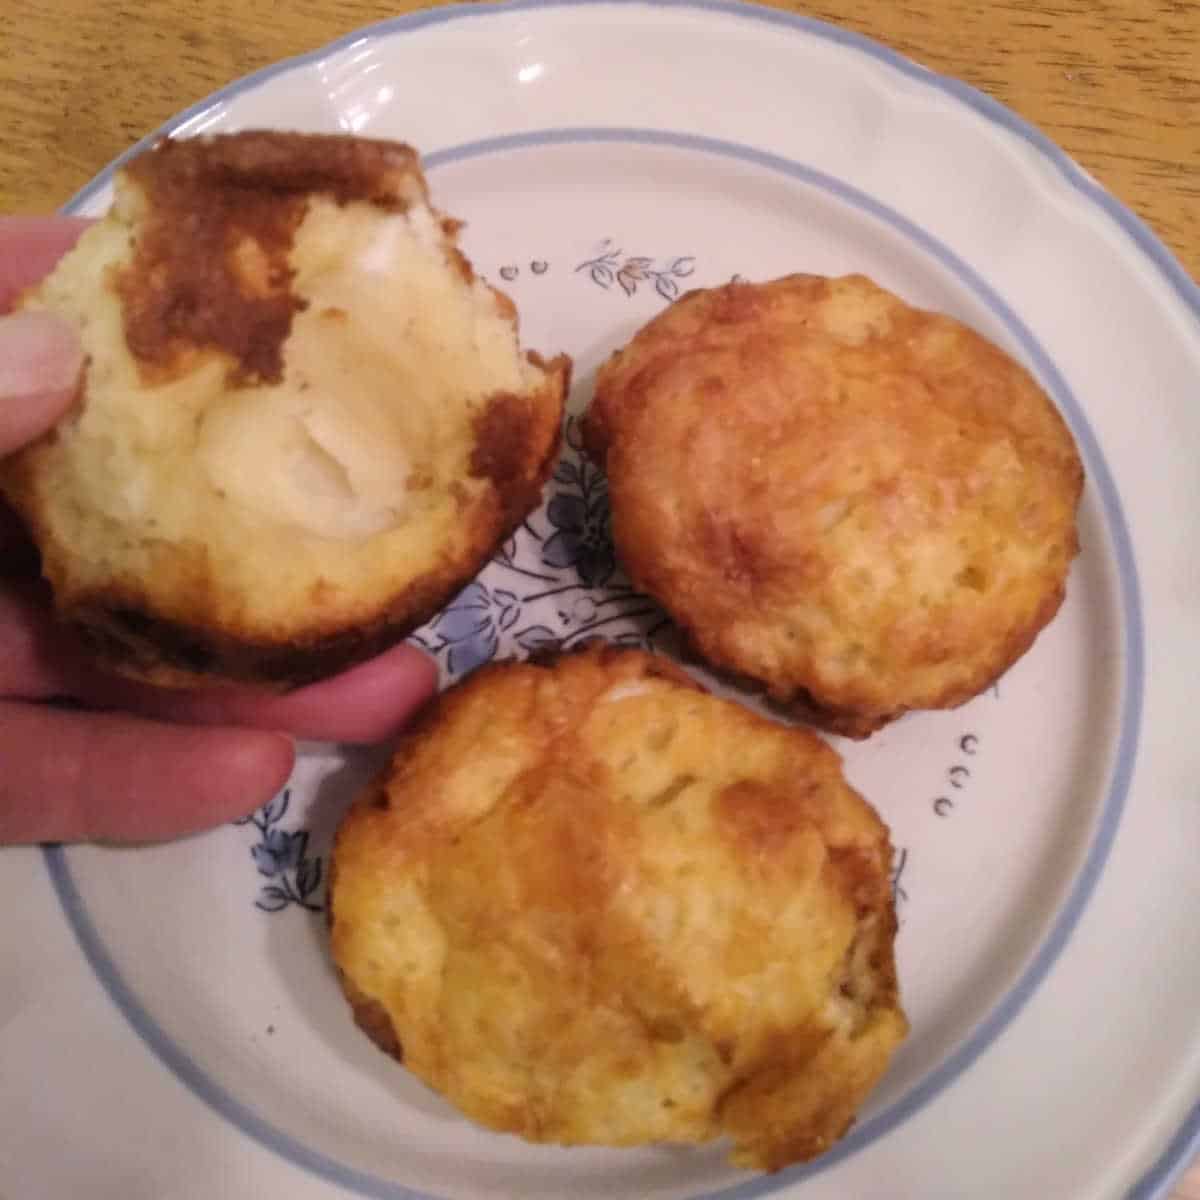
  • The secret to old-fashioned popovers? Start with a cold oven! It helps with the slow, gentle rise, and creates a light, creamy interior. That’s what makes this the best popover recipe; the crunchy, butter sweet exterior and the creamy insides.
  • Use a popover pan OR butter and oil-spray a muffin tin. The first time I made this easy popover recipe, I didn’t spray the pan. The popovers stuck to the pan and then deflated when I removed them. They still tasted great, but they looked like deflated balloons. A chef friend recommended either a popover pan or spray oil (baking spray) to prevent sticking. Try it!
  • Most recipes say you should use whole milk, but I used 1% milk and the popovers didn’t seem to suffer any from the lack of fat. If that’s all you have on hand, I say go for it!

What to Serve with Popovers

Popovers make a great side dish for soups and simple roast chicken or beef. Serve it with:

  • Vegan Cauliflower Soup
  • Chicken Vegetable Soup
  • Split Pea Soup

Updated 12/27/22 with image added.

Filed Under: Easy Recipes

Previous Post: « Vegan Creamy Cauliflower Soup
Next Post: Marinaded and Grilled Portobello Mushroom Steaks »

Primary Sidebar

Let’s Connect!

  • Amazon
  • Facebook
  • Instagram
  • Pinterest

Explore All Gardening Articles

kale growing in a raised bed

Replenishing Raised Bed Garden Soil

raised bed garden

How to Build a Vegetable Garden Using Raised Beds

a watering can next to a seed tray on a sidewalk

What Veggies Can I Plant Now?

a closeup of beet greens

Winter Raised Bed Gardens

Herbalism Classes & Supplies

Goods Shop by Herbal Academy – botanically inspired products

As Seen in Porch

 As Seen in Porch

We were featured in Porch.com and answered reader's questions about indoor plants.

Disclosure

Home Garden Joyo participates in two affiliate programs: Amazon and The Herbal Academy. Home Garden Joy earns a commission from qualifying purchases as an Amazon Associate. As an Herbal Academy Associate, HGJ also earns a commission when you sign up for classes or purchase herbs or supplies from The Herbal Academy.

Footer

kale growing in a raised bed

Replenishing Raised Bed Garden Soil

Raised bed vegetable garden soil soil needs to be replenished periodically. If you’ve done your job right and selected great soil, and amended it with nice compost, you’re going to have super garden soil for the first few years. Because you don’t walk on a raised bed garden the way that you do with typical…

Read More

raised bed garden

How to Build a Vegetable Garden Using Raised Beds

If you’re thinking about building a vegetable garden this year, raised beds are one of the best ways I know of to start a vegetable garden. Instead of renting a rototiller or hand-digging the soil, adding amendments and turning it all under to create a good garden bed, you start with the best soil mixture…

Read More

henbit close up

Henbit: Plant Profile

I’ve put together this henbit plant profile to spotlight a lovely plant – which many gardeners consider a weed. Weed or flower? To me, it’s a matter of perspective. Every spring, at least one of my raised beds is covered in a thick mat of henbit. Henbit is both lovely and practical despite being labeled…

Read More

fresh beets from the garden on the lawn after being washed

The Ultimate Guide to Growing Organic Beets

I wrote this Ultime Guide to Growing Beets to share my techniques for growing tasty, organic beets. Beets are a powerhouse of nutrition. Both the beetroot and the leaves and stems are edible. You can also can beets and beet greens to store them for year-round use. Here, I share with you a full guide…

Read More

  • Privacy Policy
  • About
  • Awards

Copyright © 2025 Home Garden Joy on the Foodie Pro Theme