
I have a confession: I never expected this to work as well as it did. A few weeks ago I snipped some stems from a healthy coleus, popped them in water, and waited. In just two to four weeks, I had four brand new plants ready to pot up. If you have a coleus you love, or a friend with one you admire, this is one of the easiest and most satisfying ways to fill your home and garden with more of that gorgeous, colorful foliage, and it costs you next to nothing.
Let me walk you through exactly what I did.
Why Propagate Coleus?
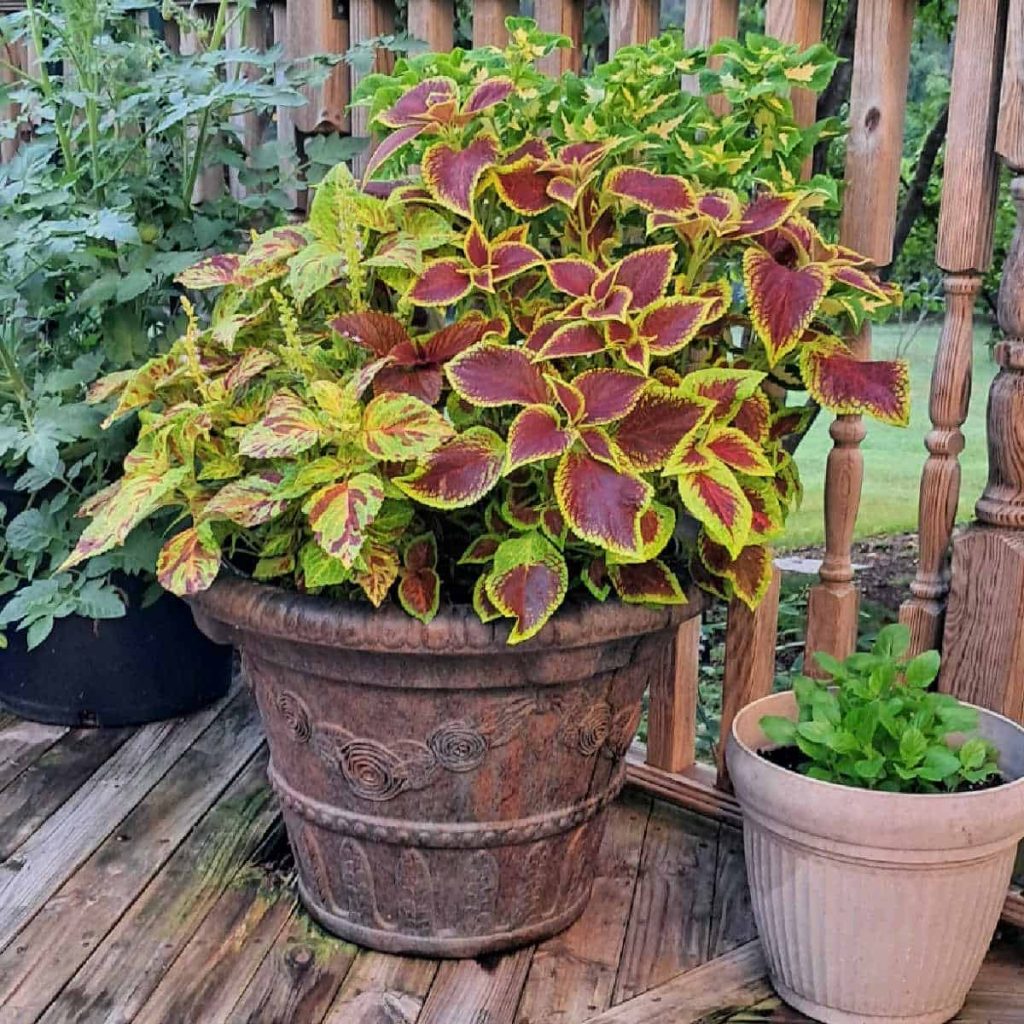
I’m a sucker for colorful foliage, especially red foliage (which is why I grow red lettuce, for example.) Coleus is a joy to grow. Those velvety leaves come in shades of lime, burgundy, magenta, and everything in between, and the plants fill out beautifully in pots and garden beds. Buying a handful of plants at the nursery can add up quickly, but a single healthy plant can give you as many new ones as you have patience for. Cuttings are also genetic copies of the parent plant, so you get the exact color pattern you fell in love with.
What You Will Need
The supply list is wonderfully short:
- A healthy, mature coleus plant
- Clean, sharp scissors or pruning snips
- A clear glass or jar
- A small piece of aluminum foil
- Water
- A sunny windowsill
- Potting soil and a container with drainage holes, for when the roots are ready
Step One: Take Your Cutting
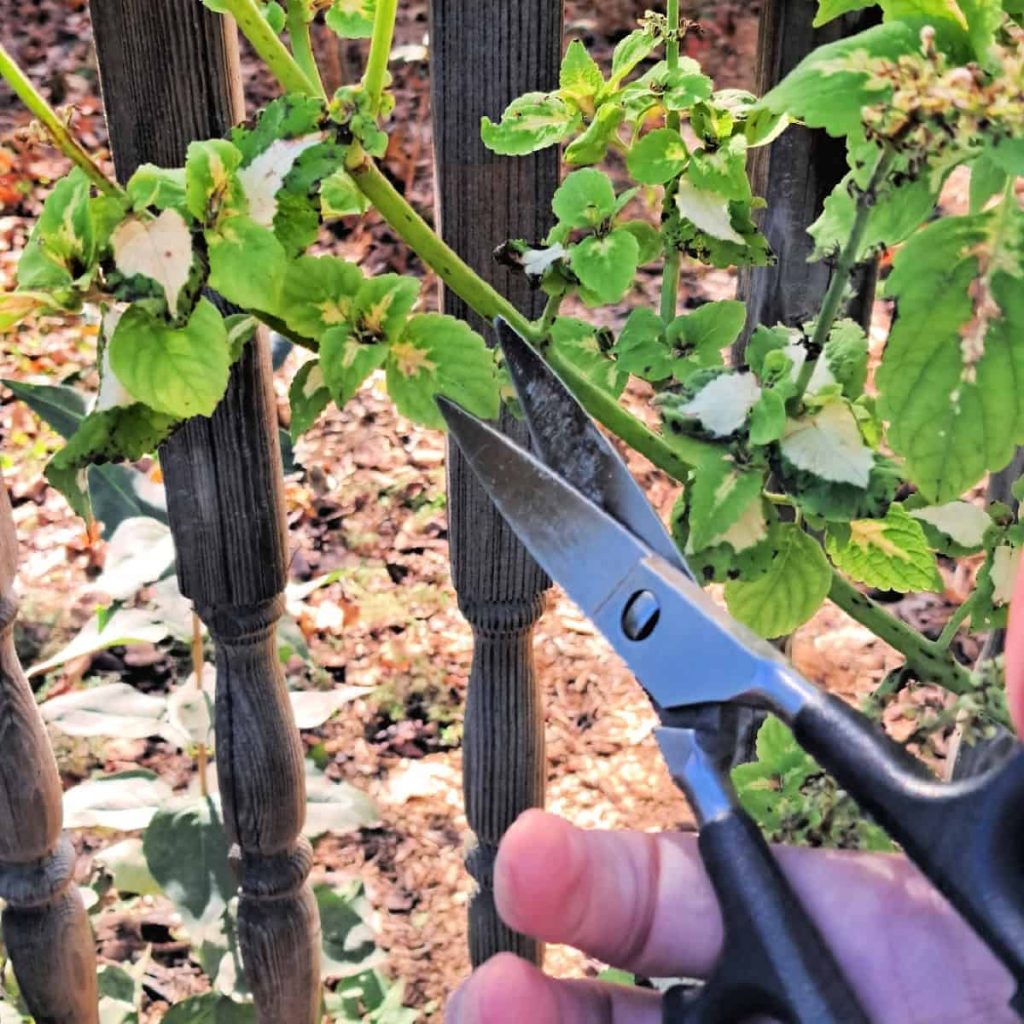
Choose a healthy stem on a mature plant. You want one that looks strong and vibrant, free of damage, pests, or spots. Cut a piece about four to six inches long. A clean cut with sharp scissors gives the stem its best chance, so wipe your blades first if they have been sitting in a drawer for a while.
If the stem has a lot of leaves, you can gently pinch off the lowest ones so that no foliage ends up sitting underwater. Leaves left below the waterline tend to rot, and nobody wants cloudy, smelly water. It’s also normal for coleus to shed leaves, so don’t worry if a few fall off.
Step Two: Set Up Your Glass
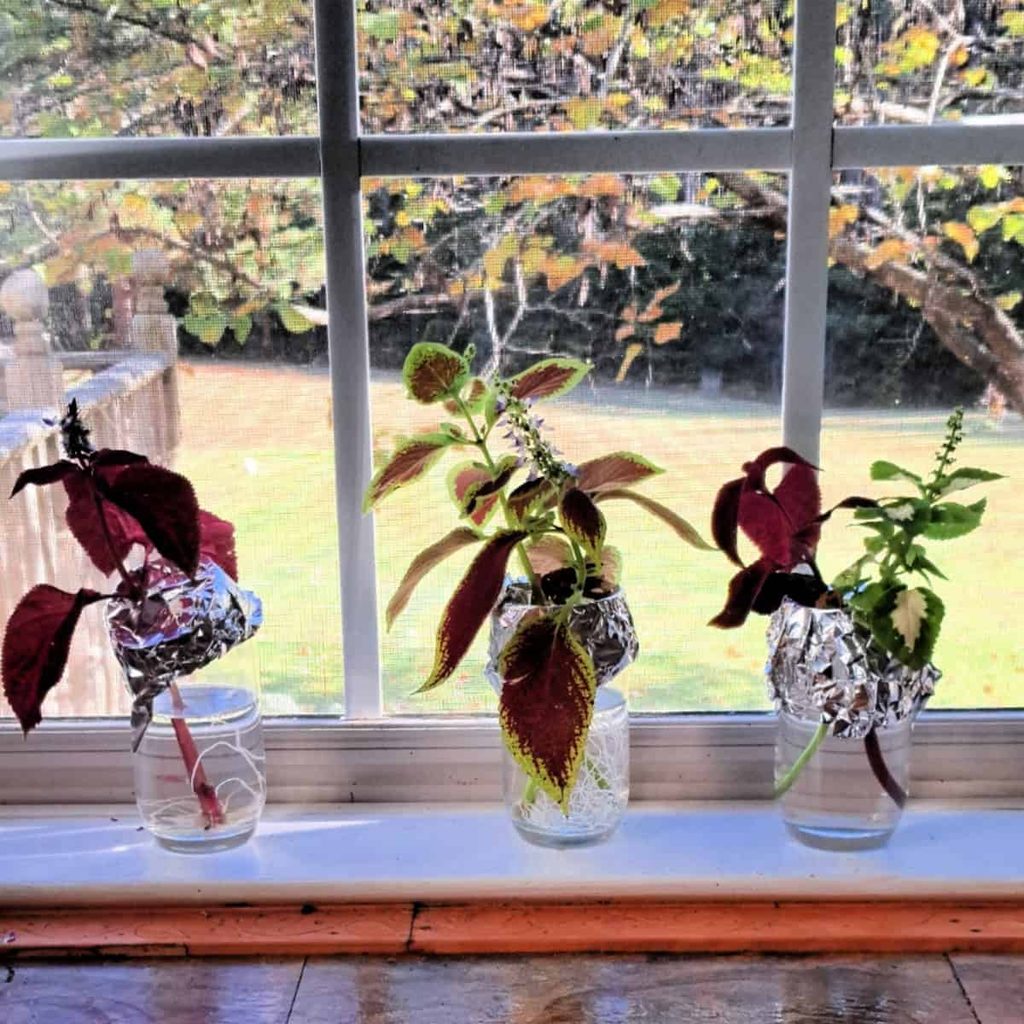
Fill a glass with fresh water, then cover the top with a piece of aluminum foil. Poke or cut a small hole in the center of the foil, just big enough to slide your stem through. The foil holds the cutting upright so it does not tumble around, and it helps keep light out of the water, which discourages algae. Slide the stem down through the hole so the cut end rests in the water.
Then set your glass on a sunny windowsill, and now comes the hardest part of all: waiting.
Step Three: Be Patient and Change the Water
Once a week, swap out the water for fresh water. This keeps things clean and gives the developing roots plenty of oxygen. It only takes a moment, and it makes a real difference.
Before long, you will spot tiny white roots reaching out from the stem. I will admit I checked mine far more often than necessary, and each little root felt like a small victory. In my case, I had healthy rooted cuttings in about two to four weeks, and I ended up with four new plants.
Step Four: Transplant Into Soil
When your cutting has a good set of roots, it is time to move it into a container filled with potting soil. Make sure the pot has drainage holes so the roots never sit in soggy conditions. Gently nestle the roots into the soil and firm it lightly around the stem.
For the first stretch, keep the soil consistently moist, and do this until you see new leaves appear. New growth is your signal that the plant has settled in and is happy. After that, you can back off on the watering and water about once every other day. Your plant has established itself, and it will let you know if it wants a little more or less.
Planting Outdoors
If you would like to plant your new coleus in the garden, timing matters. Coleus dislikes cold, and even a light chill can set it back or harm it. Wait until spring, and only plant outside after the last frost date for your garden region. If you are not sure when that is, your local extension office or a quick search for your area will point you in the right direction. Until then, your potted plants will be perfectly happy growing indoors on a bright windowsill.
A Few Friendly Tips
Start with a few more cuttings than you think you need. Not every one will take, and extras make wonderful gifts for friends and neighbors. Rooted coleus in a pretty little pot is a present that keeps on growing.
Also, give yourself permission to experiment. Try cuttings from different colors and see how they look side by side on your windowsill. It is hard to go wrong.
Happy Growing
Propagating coleus is one of those gardening projects that makes you feel like a bit of a magician. A stem, a glass of water, and a little sunshine turned into four thriving new plants for me, and I bet it will for you too.



Leave a Reply
You must be logged in to post a comment.