• Skip to primary navigation
  • Skip to main content
  • Skip to footer
Home Garden Joy
  • Home
  • Gardening
    • Butterfly Gardens
    • Home Garden Tips
    • Seed Starting
    • Compost and Fertilizer
    • Raised Bed Gardening
    • Tools & Equipment
    • Pests & Problems
  • Plants
    • Plant Profiles
    • House Plants
    • Vegetables
    • Fruit
    • Herbs
    • Growing Flowers
  • Garden to Table
    • Easy Recipes
    • Canning and Food Preservation
  • Seasonal Living
    • Home for the Holidays
    • Birds and Wildlife
    • Vintage Finds
  • Shop
    • Books for Christian Herbalists
    • Herbalism Classes
    • Books by Jeanne Grunert
  • About
    • Privacy Policy

Gardening Skills: Layering Spring Bulbs

October 22, 2013 by Jeanne


Layering spring bulbs is somewhat controversial, but this gardening technique can be used to provide continuous color for spring-blooming bulbs in a section of the garden. I’ve used layering successfully in my flower garden here at Seven Oaks to enjoy my favorite spring flowers — crocus, tulips, iris — from March through June.  With a little planning, you can do the same.

Layering bulbs means planting bulbs at different depths, depending on what they need. If you’ve ever bought a package of flower bulbs, you may have noticed the chart on the back of the package. It shows different flowers with an arrow indicating flower height and planting depth. Planting depth is important. If you plant bulbs too deeply, they’ll struggle to grow, and if you plant them too shallowly, they can freeze and thaw or get dug up by rodents.

My rule of thumb is that the bigger the bulb, the deeper the hole.  When I layer bulbs, I usually plant the daffodils and tulips on the bottom, followed by several layers of soil, to raise the depth of the hole. Then I plant smaller bulbs such as crocus, Siberian squill and late-blooming Dutch iris. (Don’t confuse Dutch iris bulbs with German bearded iris rhizomes. The two are very different plants, and are grown differently. German bearded iris rhizomes need to be planted very shallowly or else they won’t grow at all.)


Here’s how I layer spring bulbs:

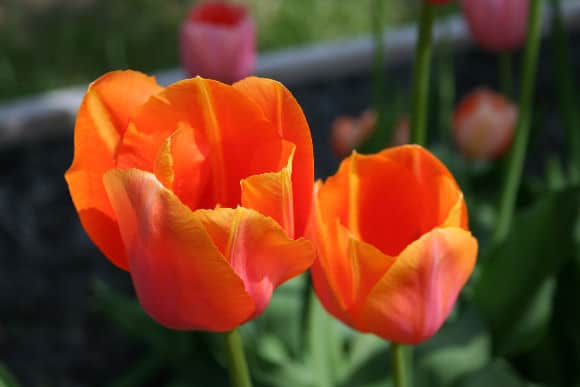
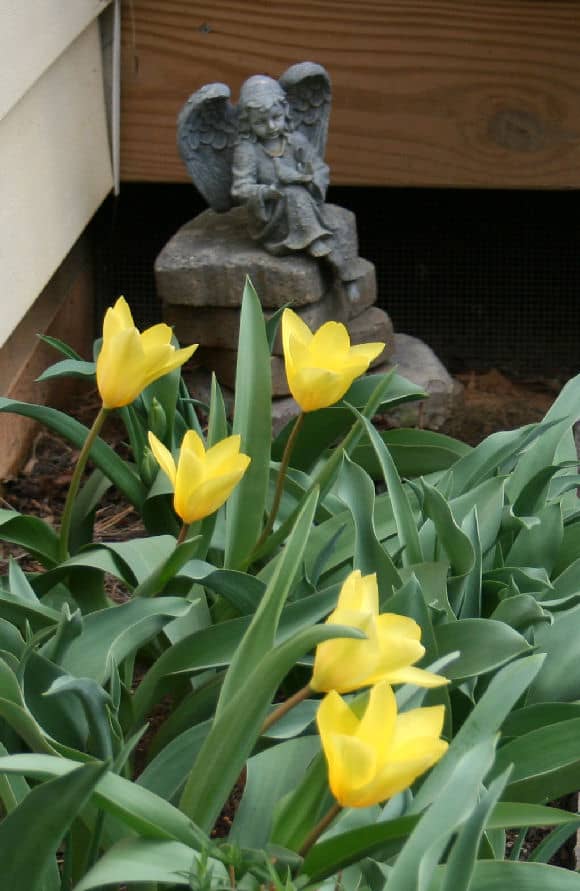
  1. I start by choosing my favorite flower bulbs. For me, that always includes tulips, but it may include crocus, glory-of-the-snow, Dutch iris and daffodils.
  2. I choose complimentary colors. For example, if I have purple crocus, I look for pink, white or purple tulips and yellow daffodils to join them.
  3. I choose a spot in the garden where the bulbs can grow undisturbed for several months.
  4. I dig the hole to the deepest depth indicated by the bulbs. If I have three packages of bulbs, and Package 1 says to dig a hole 8 inches deep, Package 2 says 6 inches and Package 3 says 4 inches, I dig the hole 8 inches deep.
  5. I  layer the bulbs requiring the deepest planting depth first.
  6. Then I cover these bulbs with soil to bring the soil level up to the next level.
  7. When I place the second layer of bulbs, I try to arrange them so that they aren’t on top of the previous layer.  I’ll make patterns with the bulbs so I remember where each layer is planted.
  8. I repeat steps 6-7 for the last layer, filling in the soil, adding new bulbs.
  9. I cover the hole with a layer of mulch and mark the spot with plant markers that will last through the winter. I’m notorious for digging in the garden in the spring and pulling up my poor bulbs.
Here’s an article I wrote a while back on Choosing Spring Flowers for Continuous Color.  If you’re feeling adventurous, and you love spring flowers the way I do, try layering today.  Some argue that it’s not good gardening practice, but I’ve had good success with it.  Try it and let me know how it worked for you.

Filed Under: How to Garden

Previous Post: « Hiking the Mount Pleasant Recreation Area
Next Post: Foodie Friday: What to Do With Leftover Beans and Corn? Potato It! »

Reader Interactions

Trackbacks

  1. How Long Do Tulips Last? - Home and Garden Joy says:
    April 21, 2015 at

    […] Gardening Skills: How to Layer Spring Bulbs […]

Footer

a vintage folk art weather house which accurately predicts the weather

The Folk Art Weather House

I’ve loved this little folk art weather house all my life. It still makes me smile. What gardener doesn’t need to know the weather? I grew up with many German relatives. Thank-you notes were written to “Oncle Ludwig” and “Tante Marie.” During visits to their homes, I was fascinated by the little folk art German…

Read More

chive plants in bloom with lettuce

Growing vs. Wild Foraging Medicinal Herbs: My Perspective

Growing vs. wild foraging medicinal herbs is a real concern among newbie herbalists. The other day, I shared pictures of my herb seedlings (mallow, parsley, and savory) on Facebook. A nervous nellie immediately wrote, “I would be so AFRAID to do that! How can you know they are safe?” Well, first of all, parsley and…

Read More

Sunfinity sunflowers in pots

Sunfinity Sunflowers: A Long-Lasting Burst of Summer Color

I love sunflowers, so when the National Gardening Bureau reached out with the news of Sunfinity® Sunflowers, I had to check them out. This new sunflower variety keeps blooming long after traditional sunflowers call it quits. While many common varieties offer only a few weeks of color and stop producing flowers once cut, this series…

Read More

bamboo fountain

Buy vs. Build Your Own Garden Fountain

Are you trying to decide whether to buy or build your own garden fountain? I’ve done both, and each approach has pros and cons. I’ll unpack them for you, below, plus include links to some of my favorite products. Home Garden Joy participates in the Amazon affiliate program. We earn a small commission on product…

Read More

  • About
  • Plant a Row for the Hungry
  • Awards
  • Privacy Policy

Let’s Connect!

  • Facebook
  • Instagram
  • Pinterest
  • Substack
  • YouTube

Copyright © 2026 Home Garden Joy on the Foodie Pro Theme