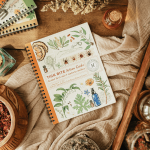
This recipe for stained glass cookies has been a favorite for a long time. This weekend, I made stained glass autumn leaf cookies. Like Christmas and Valentine’s Day stained glass cookies, the recipe uses crushed LifeSavers candy for the center “glass”. It melts in the oven, creating a lovely glass-like effect.
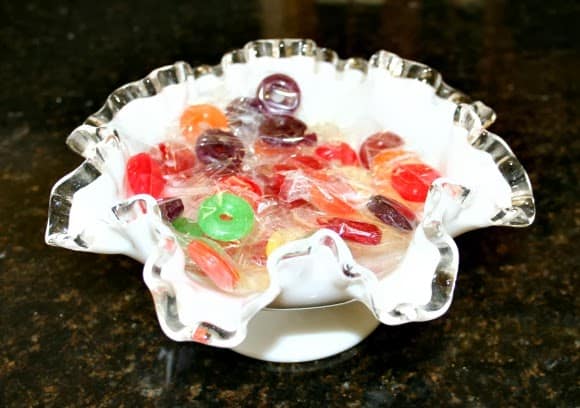 |
| Candy for the centers, |
Stained Glass Cookies: Equipment
The key to making beautiful stained glass cookies is having a set of nested cookie cutters. I bought mine at Bed, Bath & Beyond, but Williams Sonoma sells them, and you can even use two different size drinking glasses to cut round-shaped cookies. Use the largest size for the cookie and the smallest size for the center portion.
 |
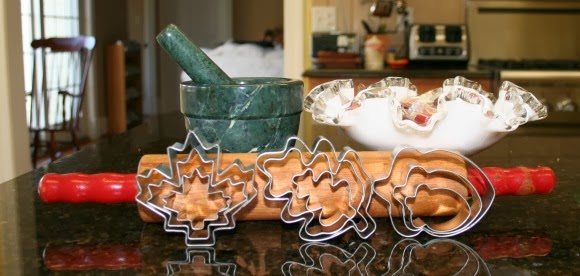
| Equipment: Mortar and pestle, cookie cutters, candy (Photo by Jeanne Grunert) |
Another piece of equipment that will make it easier to create these beautiful cookies is a mortar and pestle. I used a marble one, purchased from Bed, Bath & Beyond, but you can find them anywhere. It is useful to crush up the candies quickly and thoroughly for the filling. If you don’t have one, you will need a heavy plastic bag or a freezer bag and a hammer to crush up the candies. Be very careful and take it outside so you don’t ruin your table or counters if you have to use a hammer to crush the candies!
Lastly, be sure you have plenty of aluminum foil and waxed paper on hand. The aluminum foil covers the cookie sheets and makes it easier to remove the cookies once they’re baked. The waxed paper is useful when rolling out the dough to keep it from sticking to the cutting board.
The recipe is quick to make, but requires time to chill the dough, so leave yourself plenty of time to make the cookies. You can schedule other tasks in between each step of the recipe.
 |
| Equipment |
Stained Glass Cookies Recipe
Equipment:
- 2 cookie sheets
- Electric mixer
- Wax paper
- Aluminum foil
- Cutting board or dough board
- Cookie cutters in 2 sizes in desired shape
- Rolling pin
- Spatula
- Mortar and pestle
- Flour to dust board
Dough: You will need for the dough:
- 2 sticks of margarine or butter
- 2 1/2 cups of flour
- 1/2 cup of sugar
- 1 teaspoon of either vanilla extract OR almond extract
- Food coloring (optional) – you can color dough to match the center or in complimentary colors
Center: You will also need:
- LifeSavers(R) candy in traditional five flavors. Cherry, orange, sour apple and pineapple were used for these cookies.
SOFTEN the sticks of butter or margarine to room temperature. They must be room temperature or they won’t form the dough properly.
In an electric mixer, cream margarine and sugar. Add flavoring extract. Add the flour a little at a time. The dough will turn very dry and crumbly. Shut the mixer off and pat the dough into a ball at the bottom of the bowl. Cover and refrigerate for 2 hours.
While the dough is chilling, crush the candies. Place candies of the same flavor and color in the mortar and crush with the pestle. Be sure to crush it into a powder; chunks of candy don’t melt easily. Brush them into a small bowl and keep colors separate. Use a dry paper towel to clean the mortar and pestle between mashing up each candy color.
When you are ready to assemble and cut the cookies, preheat the oven to 300 degrees F.
Cover cookie sheets with aluminum foil, shiny side up.
Use a wooden dough board. Place a sheet of wax paper on the board and dust with flour. Take some dough in your hands and roll into a ball. Place on flour-dusted wax paper and cover with another sheet of waxed paper. Roll to about 1/4 inch thick.
Use the large cookie cutter to cut out the desired shape. Use a spatula to move the cookie onto the foil-covered cookie sheet. Use the smallest cookie cutter to cut the same shape out of the center. You can either bake the tiny cookies by themselves, or dump the dough back into the bowl.
 |
| Cookies on foil-lined baking sheets. The small ones are acorn centers I baked as extras. |
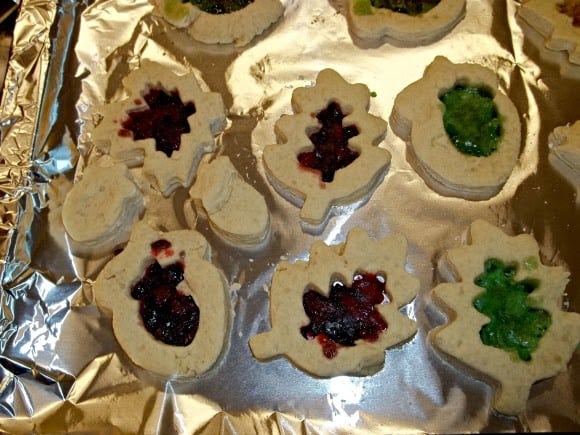
Repeat, placing cookies fairly close together. They don’t spread. When all the dough is used up, it’s time to fill the cookie center. Use a spoon and scoop the crushed candy into the center. It doesn’t have to be even, but it should fill the center completely.
Bake for approximately 20 minutes. Don’t let them back too long or the candy scorches. Remove and allow to cool completely. When the cookies are cool, you should be able to lift them from the aluminum foil. If it sticks to the candy, peel the foil away.
These cookies ship very well, so pack them up and mail them as a gift. Other cookie recipes that ship well include my Butterscotch Biscotti Recipe.
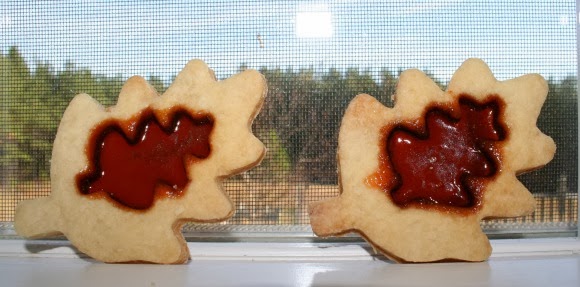
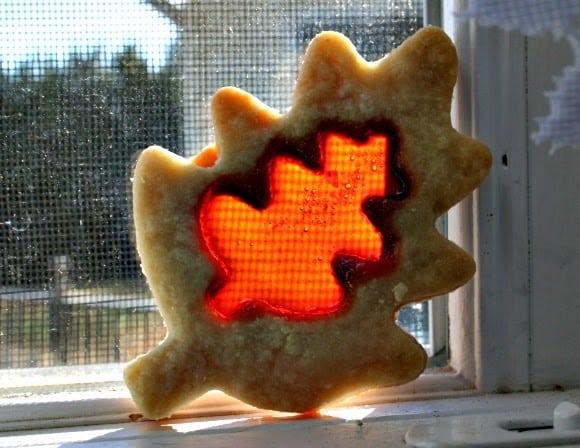 |
| Stained glass cookie with orange center. Autumn leaf. (Photo by Jeanne Grunert) |