
I learned how to can peaches from the Ball Book of Home Preserving, a cookbook I recommend to those interested in learning how to can and preserve fresh garden produce. Yesterday, Hubby helped me can peaches, and we were able to preserve nine pints. Here’s how to can peaches and enjoy them all year long!
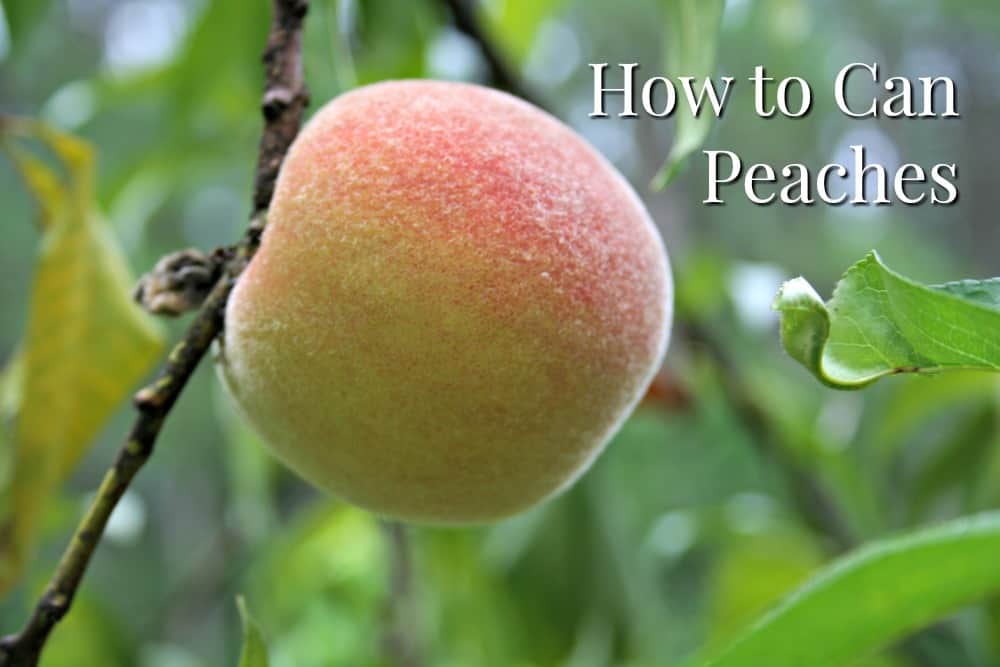
How to Can Peaches
We have four Elberta peach trees growing in our orchard. Three are nine years old; one is a replacement for a tree we thought was dying and moved to another location, where it flourished and now appears to be dying again.
Elberta is a yellow-fleshed clingstone peach. It’s better for canning than fresh eating, although we do have our ritual pick and eat the first peach of the season. We slice up the peach and enjoy it fresh from the tree before setting down to harvesting and canning peaches.
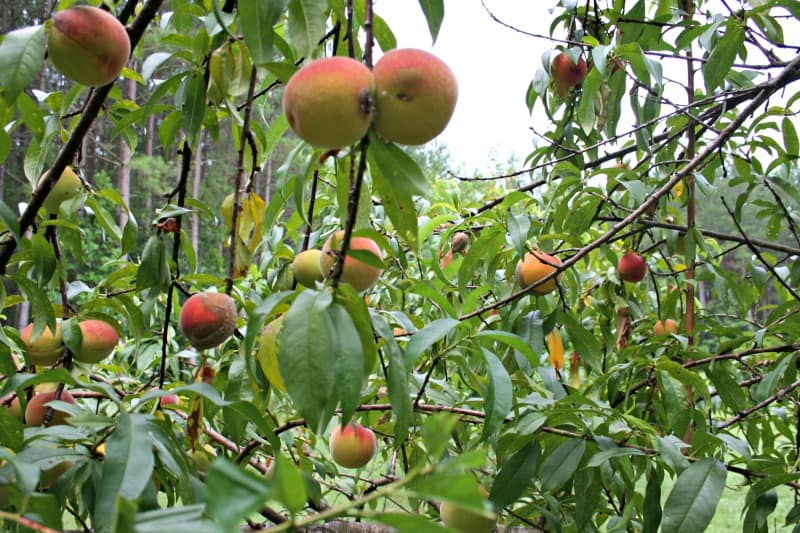
Only two out of the four trees in the orchard are bearing fruit this year. One isn’t ripe yet; the other, above, is about half-ready to be picked. We decided to space out canning peaches this year because it is labor intensive.
How to Can Peaches: Step 1 – Choose the Best Fruits
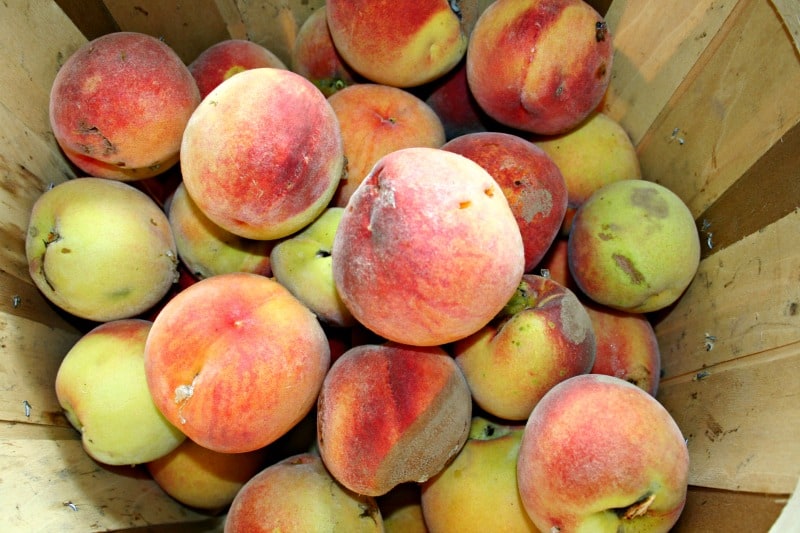
The first step is to harvest the peaches. You should choose the best fruits from the tree for preserving. We did not spray our trees this year, and both the Japanese beetles and June bugs are taking their toll on the trees. Some of the fruit is half-rotted as you can see in the picture, below. The peach on the lower left is half brown. I used the ripe half and threw out the bad half.
Picking peaches and timing it so that you outwit deer, June bugs, and every other creature on earth who enjoys fresh peaches is more of an art than a science. We keep track each year of approximately when we pick and can fresh fruit so we have a rough idea of when they will be ready. Despite what the books and Cooperative Extension websites tell you, each garden, orchard, and tree is unique. The books may say that Elbert peaches are ready in late July but ours are always ripe between July 4 and July 20.
We pick only as many peaches as we can preserve at a time. They don’t last very long in the bushel baskets and any bruised fruit or fruit with insect damage will rot quickly.

Fruit should be orange, peach, or golden color. Fruit with a green tint to it is still unripe.
We pick about 2/3 of a bushel basket, which yielded nine pints of canned peaches. I didn’t discard any whole fruit from the basket but some, like the example in the picture above, could not be used in its entirety.
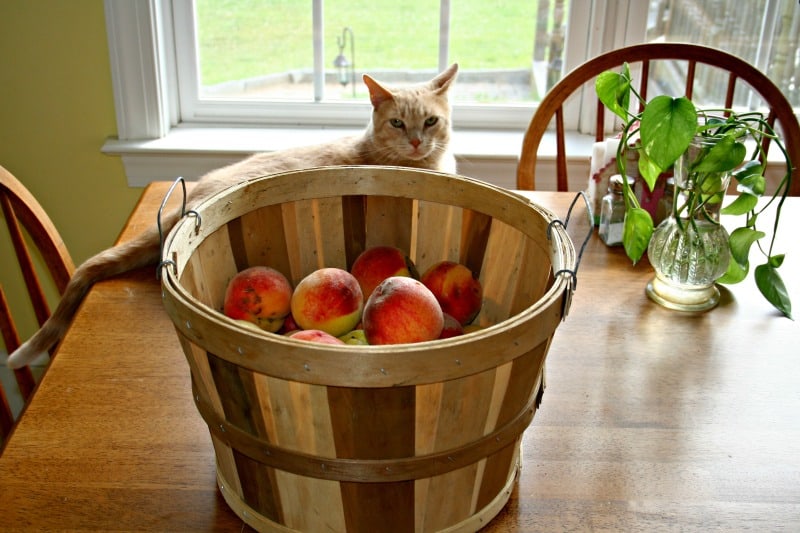
Rocky, one of our cats, helped me sort the peaches.
Step 2: Prepare the Canner, Jars & Lids
Canning peaches requires a hot water bath canner. Get your canner set up with water and racks. Wash the jars with hot, soapy water and prepare the lids and rings. (For more details, see the Ball Big Book of Home Preserving.)
Step 3: Wash, Blanch, Peel & Slice
Now the fun part: peeling the peaches. It’s sticky, messy, but rewarding.
Get a pot of boiling water ready and a pot of ice water. Wash peaches under the tap, then carefully put a few in the boiling water for about 1-2 minutes. Then, remove them with a slotted spoon and pop them right into the ice water. Ripe peaches peel immediately and easy when you use this method. Peaches that are under ripe will peel more easily with a vegetable peeler.
Peel the peaches, then slice them away from the pit. Slice into the desired lengths and sizes for canning. Put any bruised, damaged, or rotten flesh into the compost bin along with your peach peels and pits.
Immerse the sliced peaches in a bowl of cold water. Mix 1/4 cup of lemon juicce and 4 cups of cold water together and cover your peaches in the bowl with this mixture. It prevents browning.
Keep blanching and peeling the batch of peaches until you’re done. It took us an hour with two people working side by side to tackle this task!
Step 4: Make the Syrup
Canned peaches should be canned in a sugar syrup mixture. My recipe calls for 3 1/2 cups of sugar to six cups of water. Place the sugar in a heavy bottom saucepan, then pour in the water. Bring it to a boil, stirring constantly, until the sugar is dissolved.
Step 5: Peaches and Syrup in Jars
Using hot jars and a pair of canning tongs, remove the hot jars from the canning pot and dump the water out. Then, place each jar on your work surface. I use a wooden cutting board to protect my granite countertops.
Use a slotted spoon and a funnel and spoon the peaches into the jars. Then, fill each jar with the syrup. Leave 1/2 inch of space at the top or headroom.
When all the jars are filled, use a slotted spoon or a canning tool to remove the air bubbles. Gently heat new canning lids.
Step 6: Canning Time
Take a damp paper towel and clean the rim of each jar before placing a new canning lid onto each. Then place the screw band lid and tighten it by hand.
Use your jar lifter to gently place each jar into the canning pot. Make sure the jars are on a rack – do not let them touch the bottom of the pot or they may break from the heat.
Be sure that there is adequate water covering the top of the jars, or about an inch or so. Check the USDA’s food preservation website or the Ball Big Book of Home Preserving for details. You need adequate water and steam to properly can foods.
When all the jars are in the canning bath, place the lid and turn up the heat until the canner is boiling steadily. Then lower the heat to gently boil it. Canning time for pints of peaches is 30 minutes.
When the time has passed, remove the lid and wait 5 to 10 minutes before removing the jars using your jar lifter. Place them on a wooden cutting board or another protected surface while they are cooling.
Listen for the PING of the jar lids sealing and check each jar. If a jar doesn’t seal properly, you can enjoy it now – just put the cooled jar of peaches into the refrigerator and eat within a week.
Label and date each jar. Most of the new Ball lids have a spot on them to write in the date. I use a Sharpie marker to date them.
Add the finished jars to your pantry. Congratulations – you’ve just learned how to can peaches!
Problems Canning Peaches?
If you have problems while learning how to can peaches, check with your local Cooperative Extension site, the USDA food preservation website, or a reputable cookbook.
My own jars spilled syrup everywhere while cooling. I had to research for a while to learn what happened. They cooled too quickly, which allowed the boiling syrup to escape before the jar sealed. Messy, but still usable. We washed each jar under the tap and dried it with a clean dish towel before storing it.
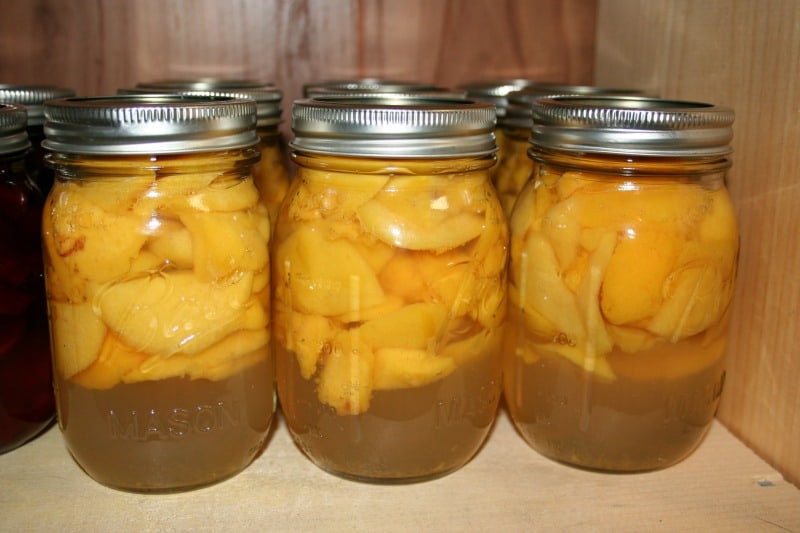
The peaches floated to the top, as you can see in the picture, above. This is common and probably happened because the peaches weren’t heated enough prior to placing them inside the jars.
I hope you’ve enjoyed this glimpse into my process for canning peaches. It is labor intensive, but I love the work, and I especially love the feeling of what’s dubbed ‘food security’ – knowing where my food comes from (the tree about 100 yards from my house), how it was grown (because I grew it), and how it was preserved (because I preserved it.) Seeing the jars of food lined up in my pantry always gives me a feeling of self-sufficiency. I wish you could feel that, too. It’s a wonderful, happy thing.
Keep growing!


You said 9 pints, did you mean 9 Qts? W’re getting our harvest soon, can’t wait! They also freeze well.
Hi Nancy – No, I meant pints. I canned 9 pints. The Ball cookbook calls for 8 to 10 pounds of ripe peaches to can 9 pints or 4 quart jars. Enjoy!