
It’s great to know how to can apples if you have an apple tree, go apple picking, or just find a great value at the supermarket. You can can apples slices or even make applesauce, such as the applesauce I used for my walnut applesauce bread recipe. Or, make a recipe such as apples studded with cranberries and raisins for a winter-time taste treat the whole family will love.
I’m an Amazon affiliate. If you purchase an Amazon product from this article, I’ll receive a small commission. It will not affect your price.
My Late Summer Project
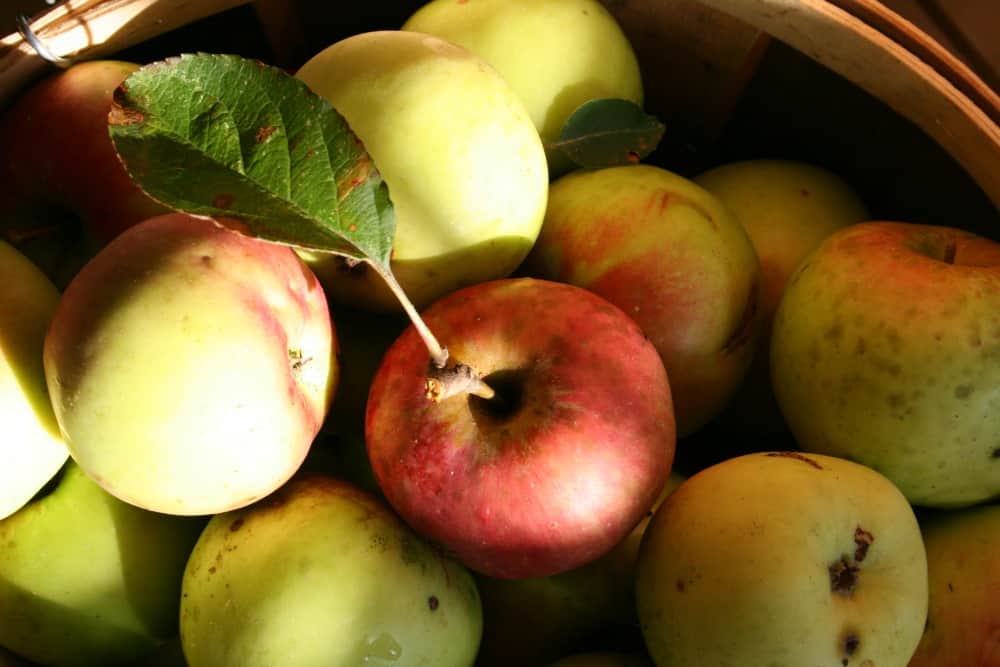
This year, we were blessed with an abundance of apples from the trees in our orchard. While we have nine trees of different varieties, two produced abundantly: the Jonathan and Red Delicious. The Jonathan variety was especially prolific, producing nearly 300 fruit!
That many apples are hard to store without going bad. Some had insect bites (we didn’t spray this year, more out of forgetfulness than out of any desire to go 100% organic, although that was the end result.) Some had been picked by the crows, who pecked at the ripe fruit until they dropped to the ground. These were not just bruised but bitten and needed immediate attention.

Canning the apples was the best solution. I made apple butter as well, and that recipe will be shared another time since it came out delicious, if I do say so myself!
The best canning book I have ever used: The Ball Complete Book of Home Preserving.
A hot water bath canning equipment set provides you with all the tools you need.
Before you embark on your project, you will need approximately 25 apples for nine pints of canned apples. An apple corer, a gadget that lets you both core and slice apples at the same time, is a huge help for a canning project. And of course, you will need a hot water bath canner, pint jars with fresh canning lids and good screw band lids, and the ingredients to make canned apples.
Instructions to Can Apples
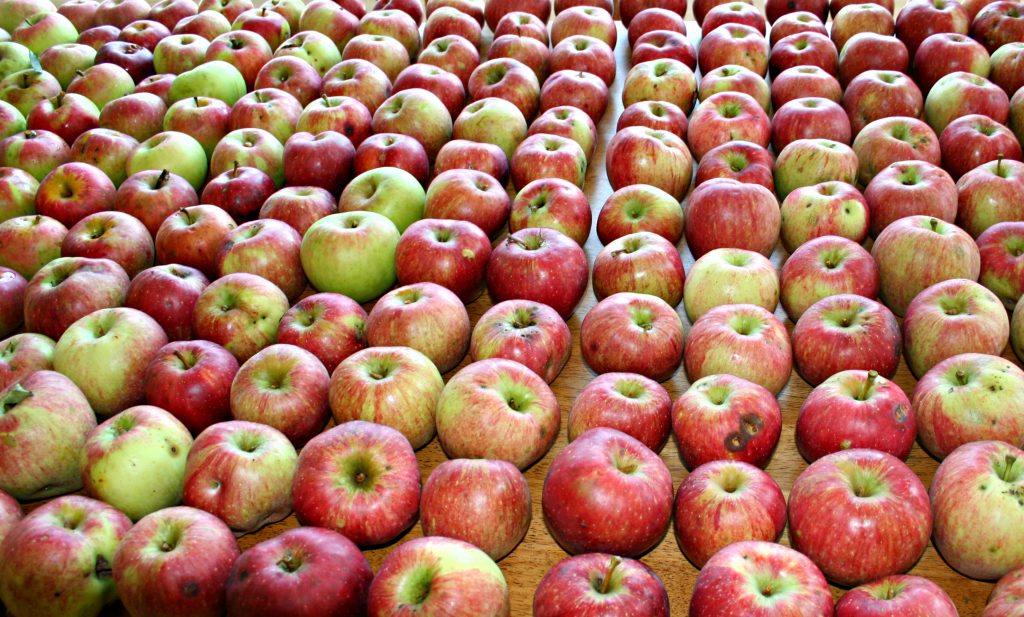
Begin by selecting the fruit. As mentioned above, you’ll need about 25 apples for nine pints. Look for fruit without too many marks or bruises.
If you are using apples from your garden, you’re all set. If you are buying apples at an orchard, picking apples with your family, or buying them at the grocery store, the best varieties for canning are firm-fleshed types: Granny Smith, Jonathan, Winesap, and similar varieties.
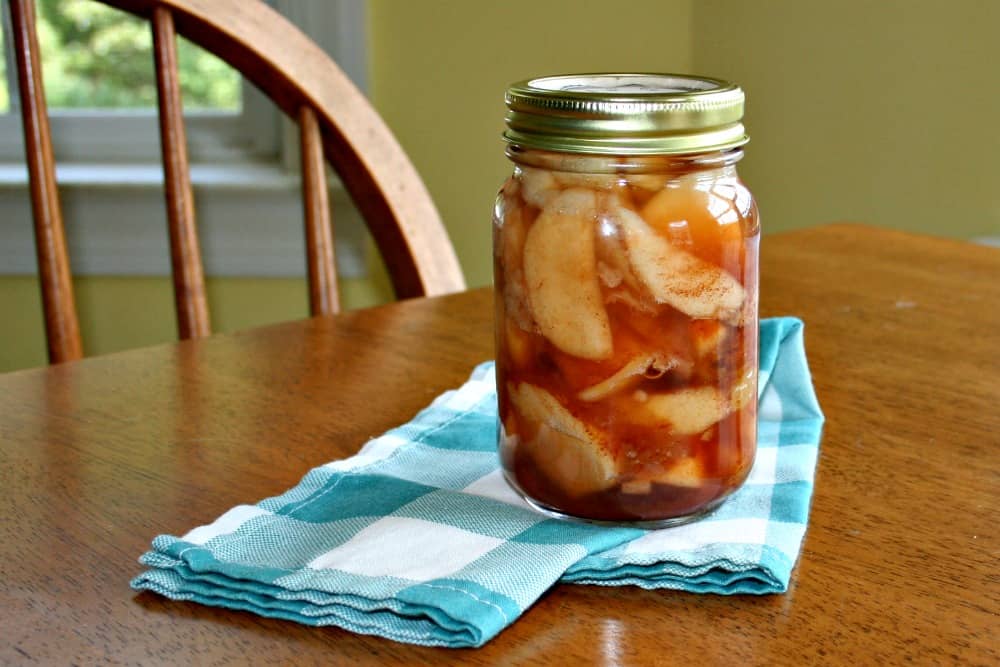
As I mentioned above, I canned both Jonathan and Red Delicious. Both tasted fine, but the Red Delicious turned sort of mushy in the jars. I like them that way and mix them into oatmeal or serve them with pork instead of applesauce, but they would probably just turn even mushier in an apple pie. The other varieties remained firmer and would probably be suitable for making pie filling later.
For your project, get the hot water bath canner ready. Place the rack at the bottom of the canner and fill it with water about halfway. Clean and fill your jars with hot water, and place them in the canner to heat. Heat the jars while you prepare the apples.
Wash the screw band lids and set them aside. Set new, fresh jar seals to the side as well in a pan of water to heat later.
Apples are canned in a medium or light sugar syrup. It’s best not to substitute honey or any other sweetener.
Step by Step
- Fill a large bowl with 5 cups of water and 1 cup of lemon juice. Set aside. This is where you will place all of the apple slices while you are preparing the entire batch. The lemon juice prevents total browning, although some browning will occur.
- Grab a big bowl for compost. You can add peels and cores to your compost pile.
- Wash the apples under running water to remove surface dirt.
- Peel each, one at a time, saving peels in your compost bowl. I got into a rhythm of peeling 2 to 4 at a time, then coring and slicing them. This worked for me, but you’ll need to find your own best method. Don’t peel them all at once or they will turn brown before you can cut them up.
- Using the corer, core and slice the apple with one firm motion. Discard the cores into your compost bowl where you’re saving the peels.
- Trim the slices if any bits of core or peel are still on them. Trim off any bruised areas or other marks with a knife.
- Place the slices into the bowl of lemon juice and water.
- Continue peeling, coring, slicing until all apples are finished.
- When your apples are peeled and cored, it’s time to make your sugar syrup. In a heavy sauce pan or stock pot, mix 3 1/2 cups of sugar with 7 cups of water for a light to medium syrup. Heat on HIGH stirring constantly until all sugar is dissolved and the mixture boils.
- Remove the jars from the canning pot with a jar lifter, tipping the water back into the pot, and place them on a heat-resistant surface near the stove.
- Heat the jar lids.
- Turn the heat down under your syrup mixture to low.
- Using a slotted spoon so that the lemon juice mixture drains away, place the apples into the syrup mixture. Stir gently. You want to heat all of the apples through. You may need to do them in batches, depending on the size of your pot. Try not to mix in any of the lemon juice, although if some does drip in, it’s okay.
- Place a canning funnel into one of the jars
- Now, using your slotted spoon, spoon the heated apples into the jar until they are close to the top.
- Fill each jar with apples.
- Using a ladle, ladle the hot syrup into the jars, leaving 1/2 inch headspace.
- Use a headspace tool to push the apples down in the jar to release any air bubbles. This is an important step. Too many bubbles captured inside the jar can make the jar exploded in the canner. (I’ve had this happen!)
- Use a wet paper towel to clean the rims of the glass jars.
- Using a magnetic lid lifter, remove the metal lids from where you’ve heated them and place them on each jar. Place a screw band lid on each jar and tighten it with your hands.
- Using your jar lifter, carefully place each filled jar into the hot water bath canner.
- Make sure there is at least one inch of water over the tops of the jars.
- Cover the canner and heat to a good, rolling boil.
- Process for 20 minutes after the canner reaches a steady boil.
- When 20 minutes are done, turn off the heat under the canner. Remove the lid. Wait 10 minutes before removing the jars.
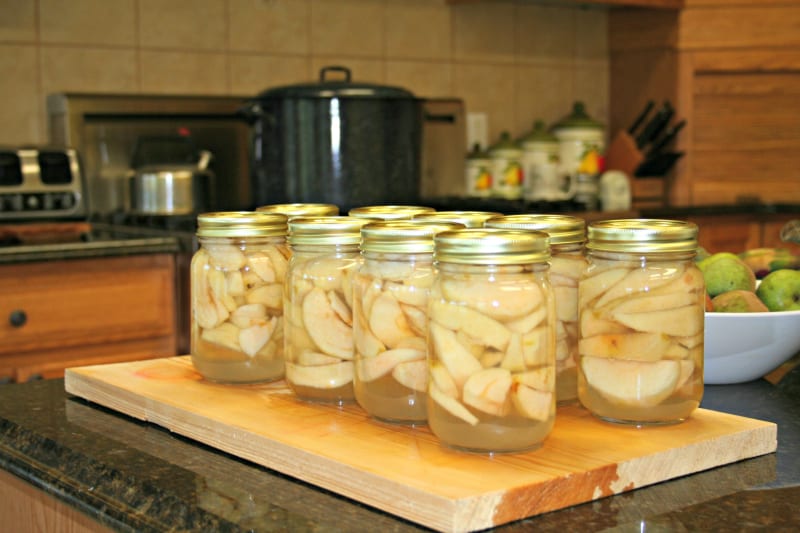
- Remove the jars from the canner using a jar lifter and allow to cool on a heat resistant surface. Some liquid may leak out until the jars seal; this is normal. Clean it up with a wet sponge or paper towel.
- Make sure the jars seal. Label and store for up to a year.
We canned 90 pints and 12 quarts of apples plus 24 pints of apple butter and made and froze 4 pies and 2 cobblers. We still have a few fresh apples stored in the cellar. I am thankful for our bumper crop of apples this year.

To learn more about growing your own apples, see:
For more apple recipes, try these:
- 25 Easy Apple Recipes for Fall
- Foodie Friday: Simple Apple Cobbler Recipe
- Recipe for Baked Oatmeal with Apples
Happy gardening! Keep growing! (and canning!)


[…] nearly everyone has in the pantry. I filled mine with fresh strawberry jelly but today I tried my canned apples since I had some leftover from dinner last night. Oh my – the apples were a […]