
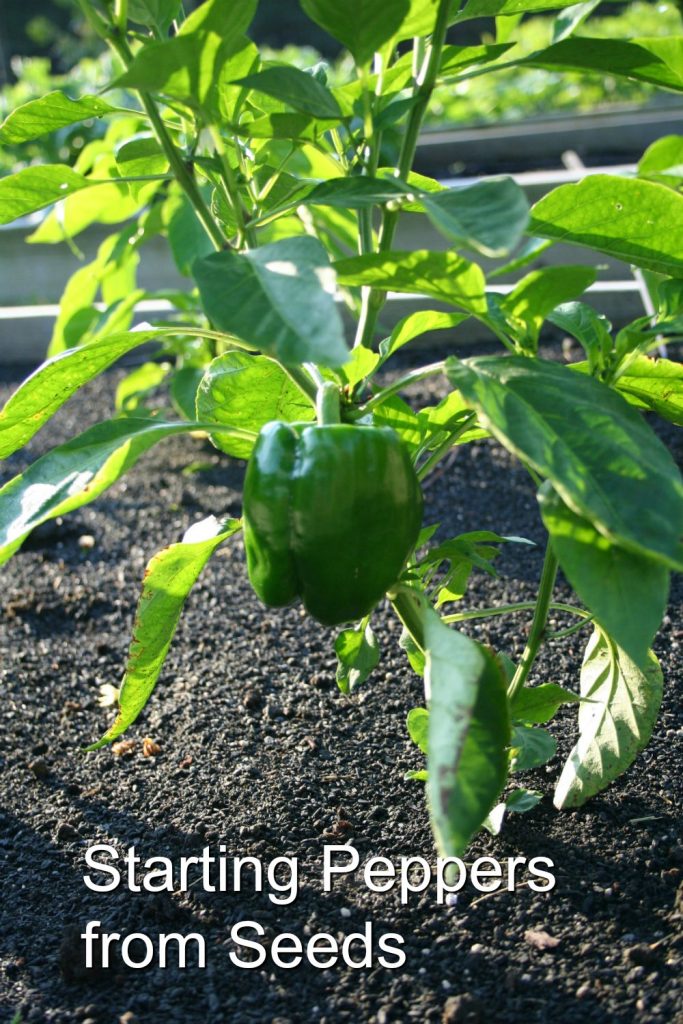
Starting peppers from seeds is similar to starting other vegetables from seeds. There are a few tricks to know to help your pepper seeds germinate and grow into strong, healthy plants.
Starting Peppers from Seeds
The first step to starting peppers from seed is to decide which type of peppers you wish to grow in your backyard garden.
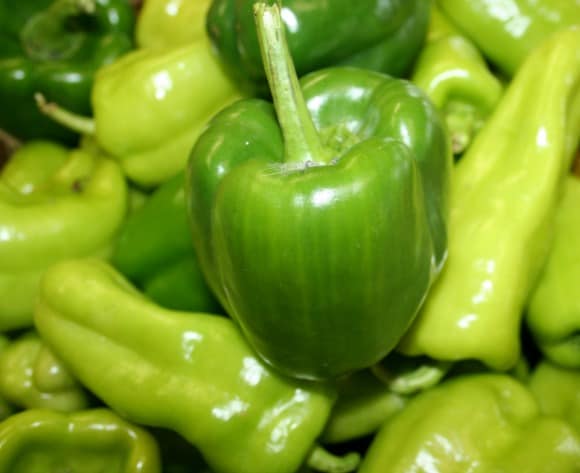
- Sweet Peppers: These are the traditional green, red, or yellow “sweet” peppers found in the grocery store. They can be used in a wide range of dishes including stuffed peppers and have a mild, sweet flavor. Most bell peppers fall into the ‘sweet’ category although not every sweet pepper has to have a rounded, bell-like shape. Some sweet peppers can be long and slender, like a hot pepper, or an oval shape.
- Hot Peppers: Hot peppers are the spicy kind that livens up Mexican and Spanish cuisine. Chili peppers, habanero, and other hot peppers vary in spiciness from tolerable to 5-alarm fire levels.
Peppers are typically green, although you can find colorful blends that include green, red, orange, yellow, and purple. The color doesn’t tell you as much about the heat of the flavor as the variety name. Some sweet bell peppers, like the Burpee “Carnival” blend of bell pepper seeds, offer a colorful rainbow of peppers that are very mild flavored, while there are green chili peppers that are so hot they make your eyes water.
Pepper plants can be grown from seeds, which I’ll tell you about here, or you can purchase plants at your local garden center and transplant them into the backyard garden after the danger of all frost has passed in the spring. Peppers are warm weather plants and cannot tolerate a frost of any kind, so do not plant them outside until you are sure the weather is warm enough for them.
To find the frost-free date for your region, see the USDA hardiness zone map for your region. Find your zone, and then look up the dates for the zone number.
Starting Pepper Seeds
In almost all parts of the United States, it is recommended that you start pepper seeds indoors. Peppers need a long growing season and most parts of the country do not have long enough warm-weather seasons to allow seeds to germinate in garden soil and attain a mature size to bear fruit.
Instead, the majority of gardeners start pepper seeds indoors during the winter months to get a head start on the season.
The steps for starting pepper seeds are:
- Purchase good-quality pepper seeds for the desired variety you wish to grow.
- Clean and sterilize your seed starting trays and pots if you have used them before. If they are new, skip to step 4.
- Dry the trays and pots.
- Fill the trays or pots with seed starting mixture. This is a mixture of soil and vermiculite (the white particles in bagged potting soil). It is lighter than typical garden or potting soil and better suited for seed starting.
- Open the package of seeds and gently press one seed in the center of each cell in the tray.
- Gently sprinkle the seed starting mixture over the seeds.
- Water the seeds and place in a warm, sunny spot.
- Keep the soil moist until seeds germinate.
- Water well and keep them in a warm, sunny area for 8 to 10 weeks.
- Move outdoors during warm days and back inside at night until you are ready to plant peppers in the garden.
Tricks for Pepper Seed Germination
One trick is to germinate pepper seeds in a plastic bag first, then transplant them to the seed starting trays. Place peppers seeds between sheets of dampened paper towels. Place damp paper towels inside a plastic ziplock bag. Then put the bags in a warm location for a few days and check daily. Once you see the seeds sprouting, move them into the soil and keep them warm.
Warmth is the secret to starting pepper seeds. Poor germination is often the result of a cold or cool basement area. Seed starting mats, which are special heated mats used under seed trays, can be helpful. Do not try to make homemade ones as you run the risk of starting an electrical fire if the heating element gets wet. Special seed starting mats are made for gardening and are safer and more durable.
You May Also Liked These Gardening Articles
Having problems with your peppers? I have an article to help you with pepper problems.


[…] Peppers: 26-pint jars pickled and canned, 2 contains 1 1/2 pints each, frozen […]