
The snow and ice have finally melted. In the mornings when I walk my dog through our farm, I can hear a rooster crowing on a neighboring farm. Cardinals have begun singing in the dawn. It’s spring, folks. And while the calendar reminds me we can still feel winter’s icy breath, spring planting is just around the corner – and with it, preparing the raised beds for spring planting.
How to prepare raised beds for spring planting isn’t difficult. We have a checklist that we use for our raised bed garden. Once you’ve prepared your beds, you’ll be ready for early spring planting.
A Checklist to Prepare Raised Beds for Spring Planting
- Check the wooden sides of the raised beds. Anything rotted? Look for telltale signs of boards breaking down: moisture, splintering, cracks, mushroom and fungi. Note which, if any, should be replaced.
- Examine the corners of each raised bed. If the wood if pulling apart, the boards that make up the sides are warping. You can either replace them, hammer them back together, or use a metal corner bracket to secure it for the season.
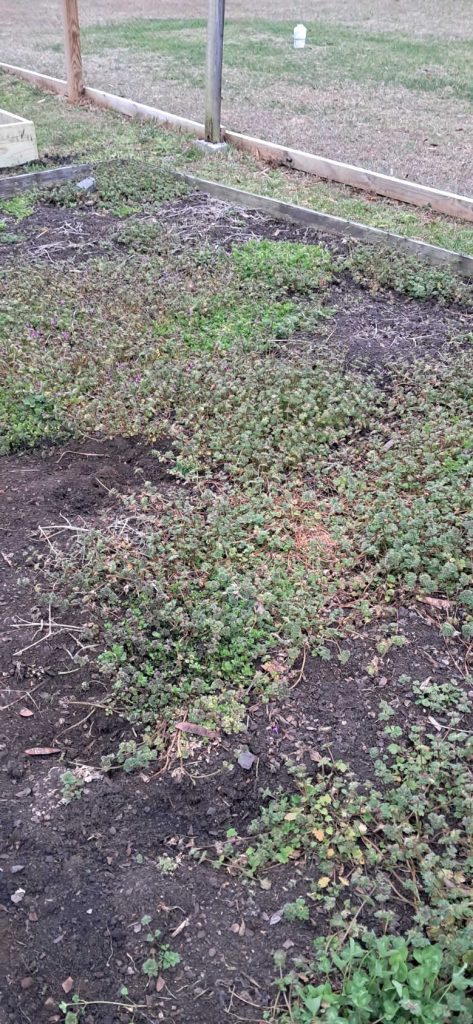
- Remove winter weeds: chickweed, henbit, dandelions. I currently have a carpet of all three on our two largest beds. My weekend project will be removing them.
- Get your soil tested if you have not had it tested in a while. Your local Cooperative Extension usually tests soil for a nominal fee.
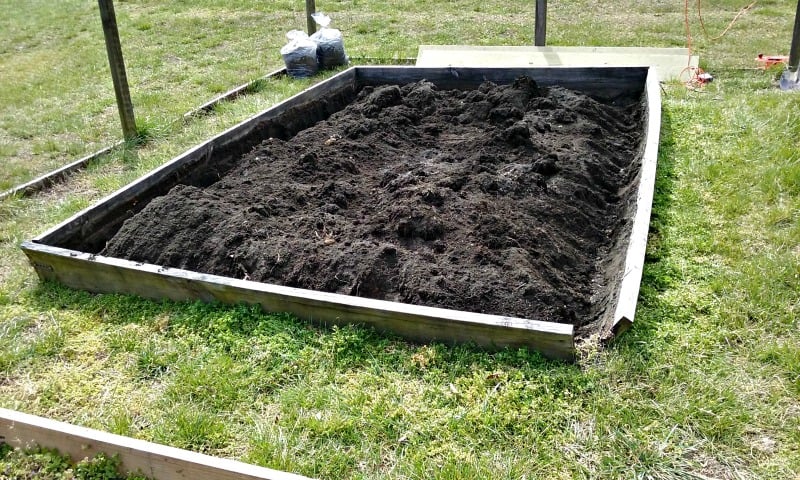
- Add mushroom soil, compost, cow manure, or all three. Turn it into the existing soil.
- Check hoses, watering systems, couplings, and connectors. Winter can give them quite a beating. Replace anything that leaks.
- Walk around the perimeter fence if you have one. Fix any spots where wildlife have tunneled under, posts are rotted, or wire is sagging.
Amending Raised Bed Soil
One of the benefits of gardening in raised beds is that you can more easily control soil quality and texture than in in-ground gardens. Soil in raised beds tends to be lighter and fluffier; it does not compact under the weight of garden equipment or people walking among the plants.
Some gardeners get their soil tested each spring. I know it is the recommended thing to do. However, I usually jump right into amendments. Because I use organic amendments, there is little danger of adding too much of any soil nutrient.
Mushroom Soil
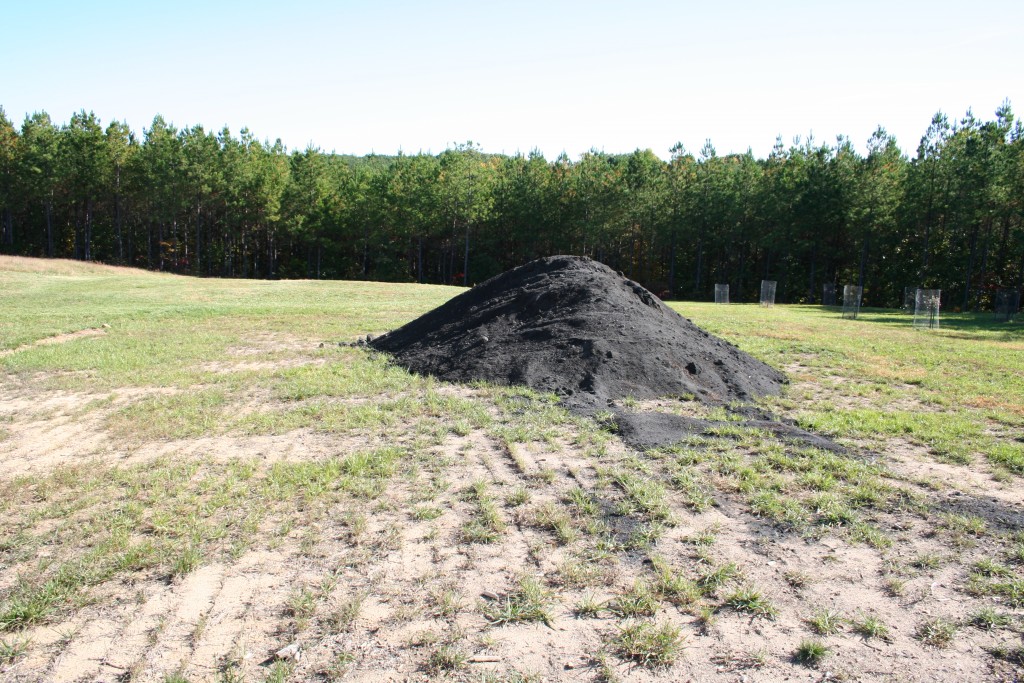
I typically add a balance of compost and mushroom soil. Mushroom soil is a mixture of soil, manure, and amendments used by mushroom farmers to grow their crops. Once a crop is harvested, the soil must be discarded. It is resold to gardeners. It is like black gold for the soil. We buy it by the truckload and carry it, wheelbarrow by wheelbarrow, into the raised bed garden. You can either top-dress (add it as a top layer) or mix it into the soil.
Compost
If your compost is ready, you can also add it as a step to prepare raised beds for spring. How do you know when compost is ready to be used? It looks like crumbly chocolate cake and smells sweet, like earth after the rain.
My composting system uses a two-area method. New compost is added to one side for 1 year, turned during winter, then used in late spring and summer. The side quickly empties. We then began piling it again with grass clippings, vegetable and fruit peels, and autumn leaves. By this time, the other side has finished breaking down, and we can switch to using this new batch of compost while we build up the other side. It works for us, but takes time and effort to maintain.
Fixing Broken Boards in Raised Beds
The hardest job is fixing or replacing broken wooden boards in raised beds. It requires pushing soil away from the board to be replaced, mounding it in the center of the raised bed. Then, unscrew or remove the broken board. Replace it with a fresh board cut to size. Screw into place, then smooth the soil back.
Getting Raised Beds Ready
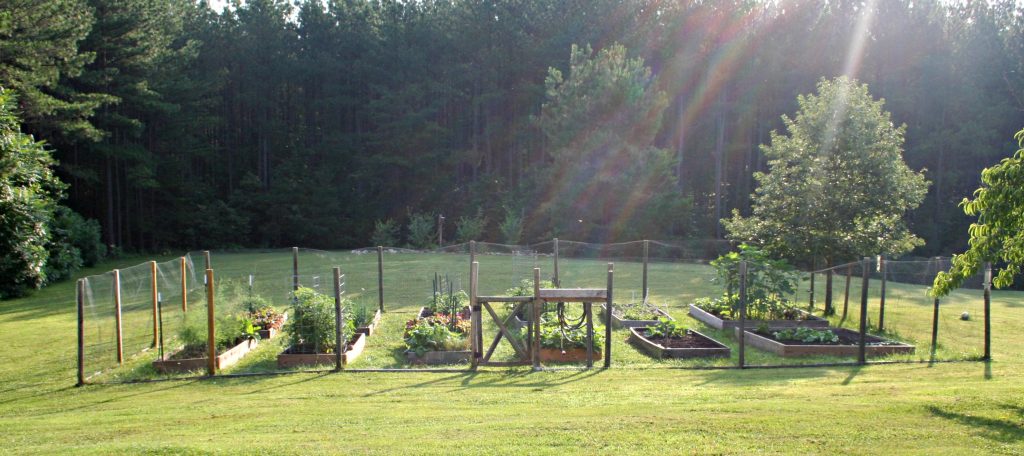
Getting all 12 of my raised garden beds ready for spring planting is a task I look forward to. It means spring planting is just around the corner.
We usually get the beds we intend to plant with early crops – lettuce, kale, chard, radishes, beets, turnips – ready first. This ensures we can get the cool-weather vegetable seeds planted with enough time to reach their peak before the hot weather arrives. Once these beds are done, we turn our attention to the six or so beds set aside for tomatoes, peppers, squash, and other hot-weather vegetables.
Now is the time to get raised beds ready for spring planting. When the structure is sound and the soil is right, you will be ready to grow!


[…] After a while, though, you’ve got to replenish the soil. Plants do take up nutrients, so the soil begins to lose fertility over time. In my own garden, I lose some soil each gardening season as I harvest vegetables such as carrots, potatoes and others that you pull up completely. No matter how I shake the veggies out, some of the soil sticks to the roots. Springtime is a great time to update and prepare raised beds for planting. […]