
Love it or hate it, garlic is a staple of most pantries. I happen to love garlic, but I know that some do not like it – or the odor that lingers after eating it!
Garlic offers many health benefits, and it definitely provides a wonderful, robust flavor to many dishes. As with most home-grown produce, the garlic grown in your backyard tastes surprisingly different than the kind purchased in the grocery store. It is much stronger in flavor, and juicier; you may find you need fewer cloves in recipes when cooking with fresh garlic.
I’ve put together a complete guide to growing garlic, here. I emphasize how to grow garlic in Virginia (zone 7B), but if you live elsewhere in the United States, the basics are the same. Check with your local Cooperative Extension for the specific planting and harvesting times for your part of the country.
Plant Profile: Garlic (Allium sativum)
Latin Name: Allium sativum
Family: Amaryllidaceae
Type: Cool-season perennial grown as an annual
Soil Requirements
- Type: Well-drained loam or sandy loam
- pH: 6.0 to 7.0 (slightly acidic to neutral)
- Preparation: Enrich with compost or aged manure before planting; avoid heavy clay unless amended
- Drainage: Essential (garlic is prone to rot in soggy conditions)
Light Requirements
- Exposure: Full sun
- Duration: Minimum 6–8 hours of direct sunlight per day
- Note: Shaded conditions reduce bulb size and flavor intensity
Water Requirements
- Frequency: Moderate and consistent moisture
- Method: Water deeply once or twice a week, depending on rainfall
- Critical Period: Spring growth phase (March–May); reduce watering as bulbs mature in early summer
- Avoid: Overwatering, especially after scapes appear and during curing
Fertilizer Requirements
- Pre-planting: Mix balanced fertilizer (e.g., 10-10-10) or compost into the soil
- During growth: Apply nitrogen-rich fertilizer (e.g., blood meal or fish emulsion) in early spring
- Timing: Fertilize at planting, then again when shoots emerge in spring
- Avoid: Excess nitrogen after bulbing begins. It can lead to lush tops but small bulbs.
Growing Garlic in Zone 7B: A Complete Guide
I grow garlic in Zone 7B, central Virginia. Our area’s moderate winters and warm (sometimes hot—very hot!) summers create ideal conditions for cultivating this pungent bulb, and with the right varieties and techniques, you can harvest robust, flavorful garlic year after year.
Best Garlic Varieties for Zone 7B
Both hardneck and softneck garlic varieties thrive in Zone 7B, each offering distinct advantages depending on your preferences and storage needs.
Hardneck varieties excel in cold-hardy climates and are prized for their bold flavor and large cloves. Music garlic is a standout choice, producing large cloves with a rich, complex flavor that intensifies after storage. German Extra Hardy lives up to its name with robust growth and reliable performance even in harsher winters. For those who enjoy roasted garlic, Chesnok Red delivers exceptional results with its deep flavor profile. Spanish Roja offers a spicy and complex taste that adds sophistication to any dish.
Softneck varieties are better suited for storage and braiding, making them ideal if you want to preserve your harvest for extended periods. Inchelium Red offers mild flavor and remarkable storage longevity, staying fresh for months with proper curing. Idaho Silverskin is another excellent keeper with impressive shelf life. Artichoke types round out the softneck options, known for being easy to grow and store without fuss.
One important note: avoid Creole types such as Louisiana or White Mexican varieties. These simply lack the winter hardiness required for Zone 7B’s climate and will struggle to establish properly.
Timing Your Planting
The timing of planting is perhaps the most critical factor in growing successful garlic. The ideal window for planting garlic in Zone 7B falls between mid-October and early November. This timing is not arbitrary. Garlic requires a cold period, known as vernalization, to form proper bulbs. Without sufficient cold exposure, your cloves may not divide and develop into full-sized bulbs.
If you miss the fall planting window, you can still plant in early spring, though be prepared for smaller bulbs unless you take a proactive step. Pre-chill the cloves in your refrigerator for two to four weeks before planting to simulate the cold period the bulbs need. This workaround can help your spring-planted garlic develop more normally, though fall planting remains the superior choice for maximum bulb size.
Preparing Your Site and Planting Technique
Success begins with proper site selection and soil preparation. Choose a location that receives six to eight hours of direct sunlight daily, as garlic performs best with abundant light. The soil should be well-draining and loamy with a pH between 6.0 and 7.0. Before planting, work in compost or aged manure to enrich the soil with the nutrients your garlic will need throughout its growing season.
When you’re ready to plant, separate individual cloves from the bulb but leave the papery skin intact. Plant each clove two to three inches deep with the pointed end facing upward. Space the cloves six inches apart, maintaining rows that are twelve to eighteen inches apart. This spacing ensures adequate air circulation and room for bulbs to expand.
Once planted, apply a generous mulch layer of straw or leaves measuring two to four inches deep. This mulch serves multiple purposes: it insulates the cloves during winter, prevents frost heave that can expose shallow cloves, and helps retain soil moisture throughout the growing season.
Water Management and Spring Care
Garlic requires consistent moisture but despises waterlogged soil. Aim for about one inch of water per week, whether from rainfall or supplemental watering. Check the soil regularly and water only when the top inch feels dry to the touch.
As spring arrives and the garlic begins active growth, gradually remove the mulch layer. Once the soil has warmed and the risk of hard freezes has passed, apply a balanced fertilizer with a 10-10-10 ratio to support continued bulb development. This spring feeding provides the nitrogen, phosphorus, and potassium necessary for robust growth in the months ahead.
Harvesting and Curing
(Note: I’ve put together a complete guide to Harvesting and Curing Garlic, which has even more information than here. Check it out!)
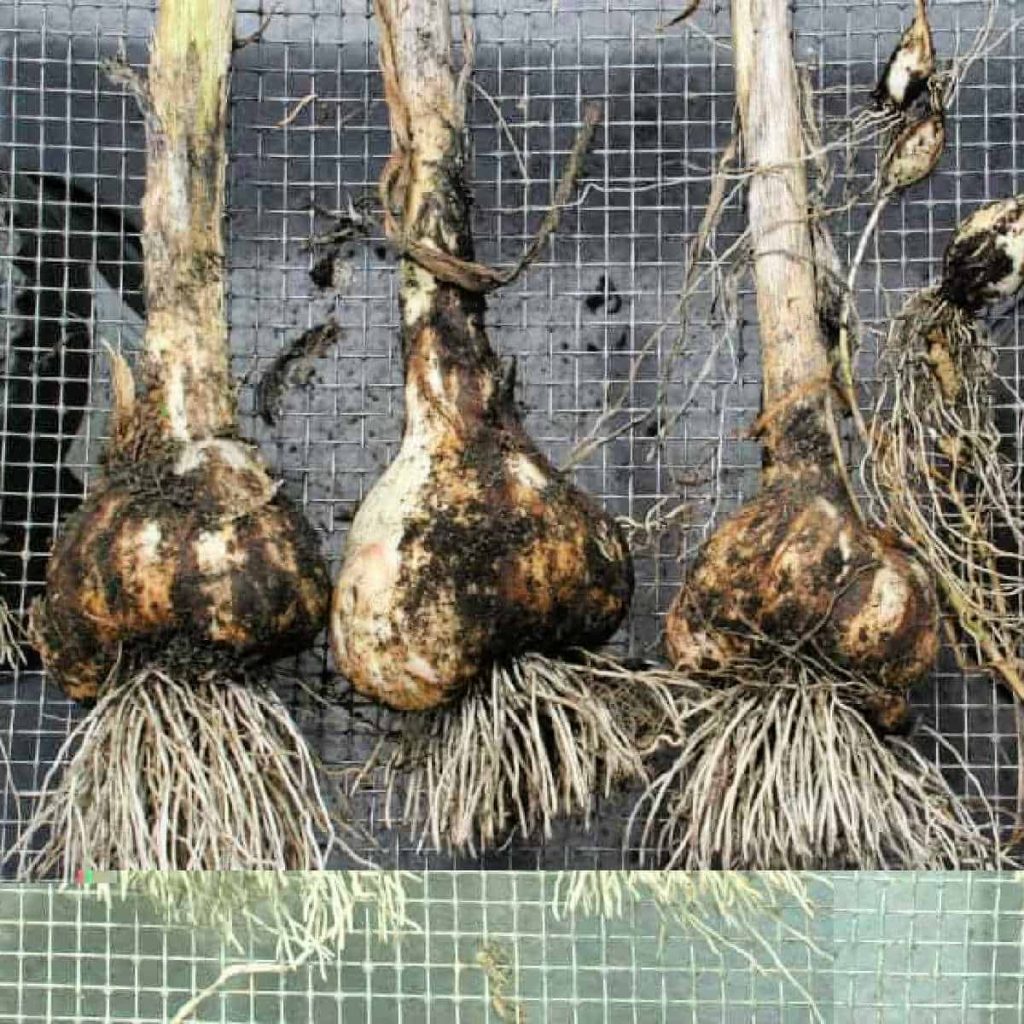
By mid-to-late summer, typically July through August, your garlic will be ready for harvest. Watch for the lower leaves to turn brown while the upper leaves remain green. This is your signal that the bulbs have finished developing and are ready to be pulled from the ground.
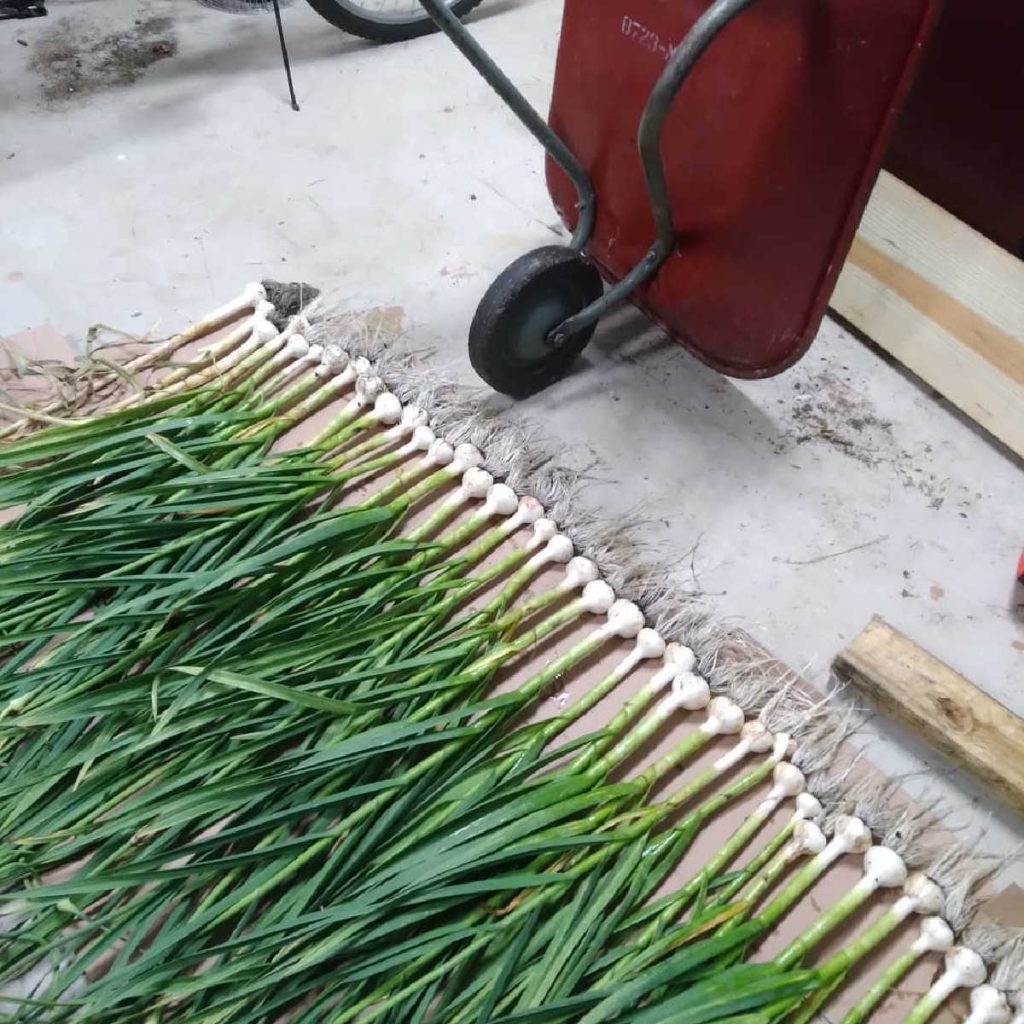
After harvesting, garlic requires a curing period to develop its characteristic papery skin and improve its storage qualities. Place the bulbs in a dry, well-ventilated area and allow them to cure for two to four weeks. Proper curing concentrates flavors and extends shelf life significantly, so this step is well worth the wait.
Companion Planting
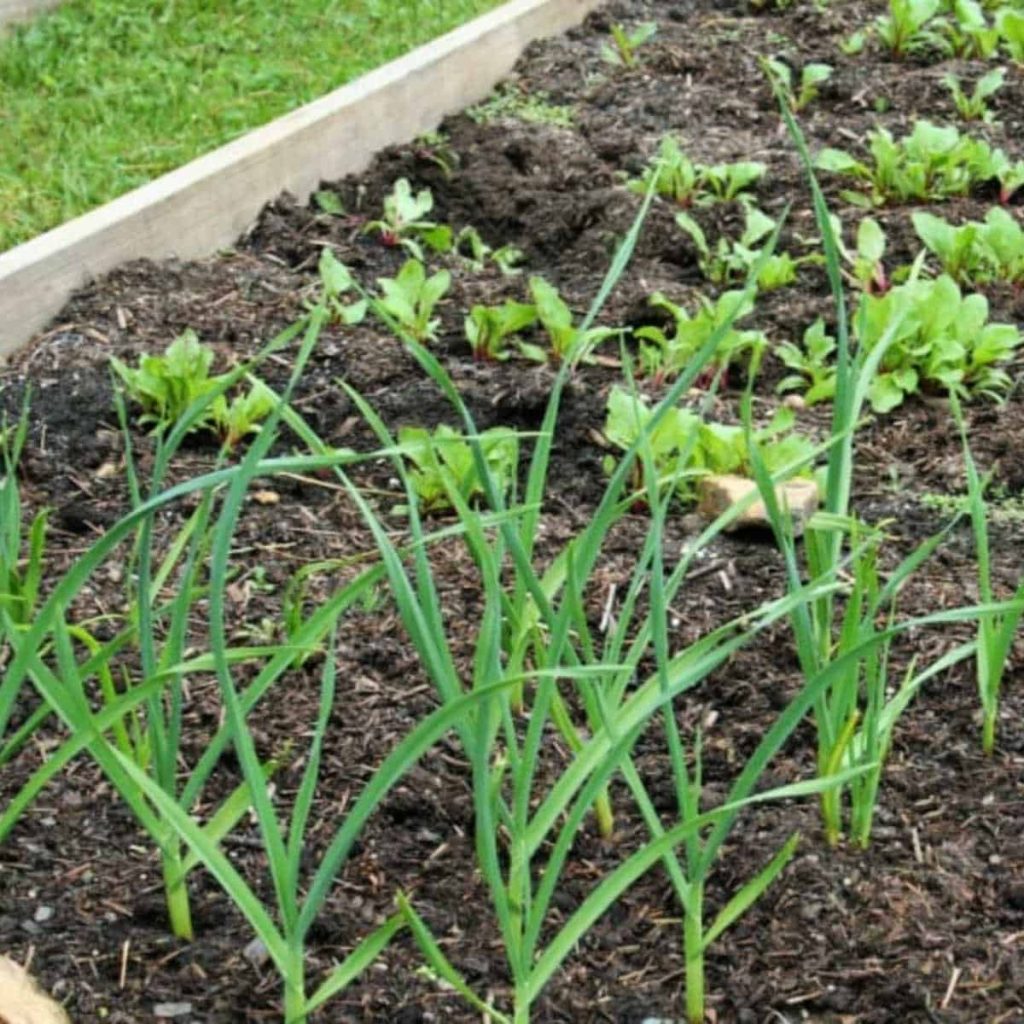
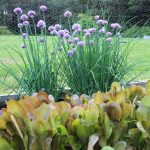
Garlic is a cooperative garden citizen that grows well alongside certain companions. Carrots, beets, and tomatoes make excellent neighbors, as they don’t compete directly with garlic’s nutrient needs and may even benefit from garlic’s natural pest-deterrent properties. I grow garlic with beets, as you can see in the picture here.
However, keep garlic away from beans and other alliums like onions and leeks, as these compete for similar nutrients and can inhibit each other’s growth.
With these guidelines in place, you’re ready to cultivate thriving garlic in your Zone 7B garden. Whether you’re a seasoned gardener or new to growing this ancient crop, the satisfaction of harvesting your own homegrown garlic makes the effort entirely worthwhile.


I am soooo spoiled for home grown garlic. If I have to buy it, I’m always disappointed. It is so much better from the garden. Enjoy!