
Seed starting basics, especially starting seeds indoors, are important skills gardeners should learn. Starting your garden from seeds is an economical way to grow vegetables and herbs. As an added bonus, it is often easier to find seeds, such as heirloom garden seeds, organic seeds, and native plant seeds, than it is to find mature plants locally. And lastly, for many plants, you can save garden seeds, saving and storing your own plant seeds for next year’s garden.
In this guide to seed starting basics, I’ll cover everything you need to know about starting seeds indoors. Not all plants should be started indoors, by the way – some, such as leafy greens (lettuce, kale, spinach) and root vegetables (radishes, turnips, beets) are best planted directly in the garden outdoors at the appropriate time. But for many vegetables, herbs, and flowers, starting seeds indoors is necessary to give them a head start.
Key Takeaways
Fresh seeds germinate more reliably, but you can test older seeds before you toss them. You don’t need fancy equipment, and recycled containers work just fine. A sunny windowsill rarely provides enough light, so plan on a grow light. Count backward from your last frost date so seedlings aren’t overgrown at transplant time, and remember to water from the bottom, use sterile seed-starting mix, and label everything.
Table of contents
Starting Seeds Indoors
Every winter, when the garden is brown and quiet, I start to get restless. Then the seed catalogs arrive, and I know the new season is just around the corner. Starting seeds indoors is one of the best ways I know to cure the winter garden blues, and it’s easier than many gardeners think.
I learned it at my father’s side. He read the seed catalogs cover to cover, and when the packets arrived in February, they made their way down to the basement where his plant lights stood in the corner. I can still remember the earthy smell of a fresh bag of peat-based mix and the thrill of watching tiny green sprouts push up through the soil. Today I start fewer plants indoors than he did, but I still love the ritual.
If you’ve never tried it, here is why I think you should. Starting your own seeds gives you far greater variety than the nursery, where you’ll find a handful of tomato varieties while the seed catalogs offer dozens. It costs less, too, since a single packet costs about the same as one nursery plant and gives you many more. You’ll enjoy earlier harvests and blooms, and there’s plain old satisfaction in picking a vegetable you grew from a seed the size of a grain of sand.
Success comes down to five essentials: the right seeds, the right supplies, good light, careful watering, and good timing. Let’s get started.
Why Buy New Seeds?
Start with Fresh Seeds for Better Germination
Seeds are living things, and like all living things, they age. Over time they lose viability, which means fewer of them will sprout, and the ones that do may come up slowly or unevenly. Fresh seed packets typically have the highest germination rates.
Some seeds stay viable for years. For most common vegetables like tomatoes, peppers, and lettuce, properly stored seeds last about one to three years. Others, like onions and parsnips, are much shorter-lived, often only a year. Many vegetables simply perform best when the seed is relatively new.
When to Reuse Old Seeds
I hate to throw away anything useful, and I’m sure you do, too. If you have leftover seeds from last year or an old packet tucked in a drawer, start by checking the date on the packet. Seeds a year or two past that date will often still germinate.
If you’re unsure, do a simple germination test. Moisten a paper towel until it’s damp but not dripping, place ten or so seeds on one half, and fold it over. Slip it into a resealable bag and set it somewhere warm, like the top of the refrigerator. Check in every few days, and after a week or two, count how many sprouted. Seven out of ten means a 70 percent germination rate, which is perfectly usable. If only two or three sprout, it’s time to buy fresh. I explain the process in more detail in my post on whether you can use old garden seeds.
If the germination rate is low, you can save those seeds for direct sowing. Sow them thickly right in the garden and thin later, and no harm done.
My advice is to invest in fresh seeds for crops that are difficult to germinate or especially important to you. If you only have room for six pepper plants and you’re counting on every one, don’t gamble on a seven-year-old packet.
Store leftover seeds in a cool, dry, dark place. Airtight containers or resealable bags with a silica gel packet keep moisture out, and a label with the date helps you remember how old they are. And if you’re new to ordering, I have a video that explains what the symbols and abbreviations in a seed catalog mean.
Indoor Seed Starting Equipment
Walk into any garden center in January and you’ll see aisles of seed-starting gadgets. Take a deep breath. You really don’t need all of it.
Basic Supplies You’ll Need
At a minimum, you’ll need seed trays or cell packs to hold the soil and seeds, and drip trays or waterproof plant trays to catch water and protect your counters, shelves, and floors. You’ll also need seed-starting mix, which I’ll explain below, and plant labels. Trust me on this one. A spray bottle or a watering can with a gentle rose is helpful for misting newly sown seeds without washing them away.
Two optional items are worth considering. A heat mat speeds germination, especially for heat lovers like peppers and tomatoes. A humidity dome keeps moisture in while seeds sprout, though you should take it off once seedlings emerge.
Nice-to-Have Extras
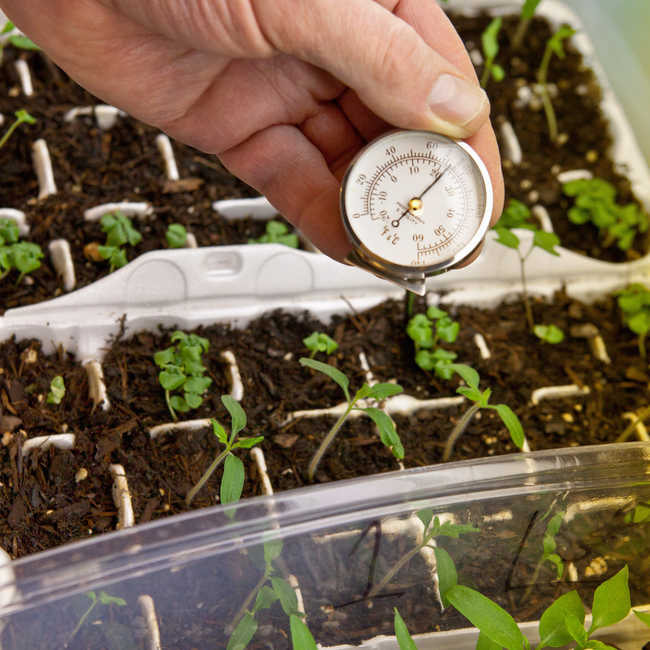
A small fan provides airflow, and a gentle breeze strengthens stems and helps prevent fungal problems. A thermometer lets you keep an eye on the temperature where your seedlings are growing. And a timer for your grow lights is a small purchase that takes the guesswork out of day length.
Budget-Friendly Alternatives
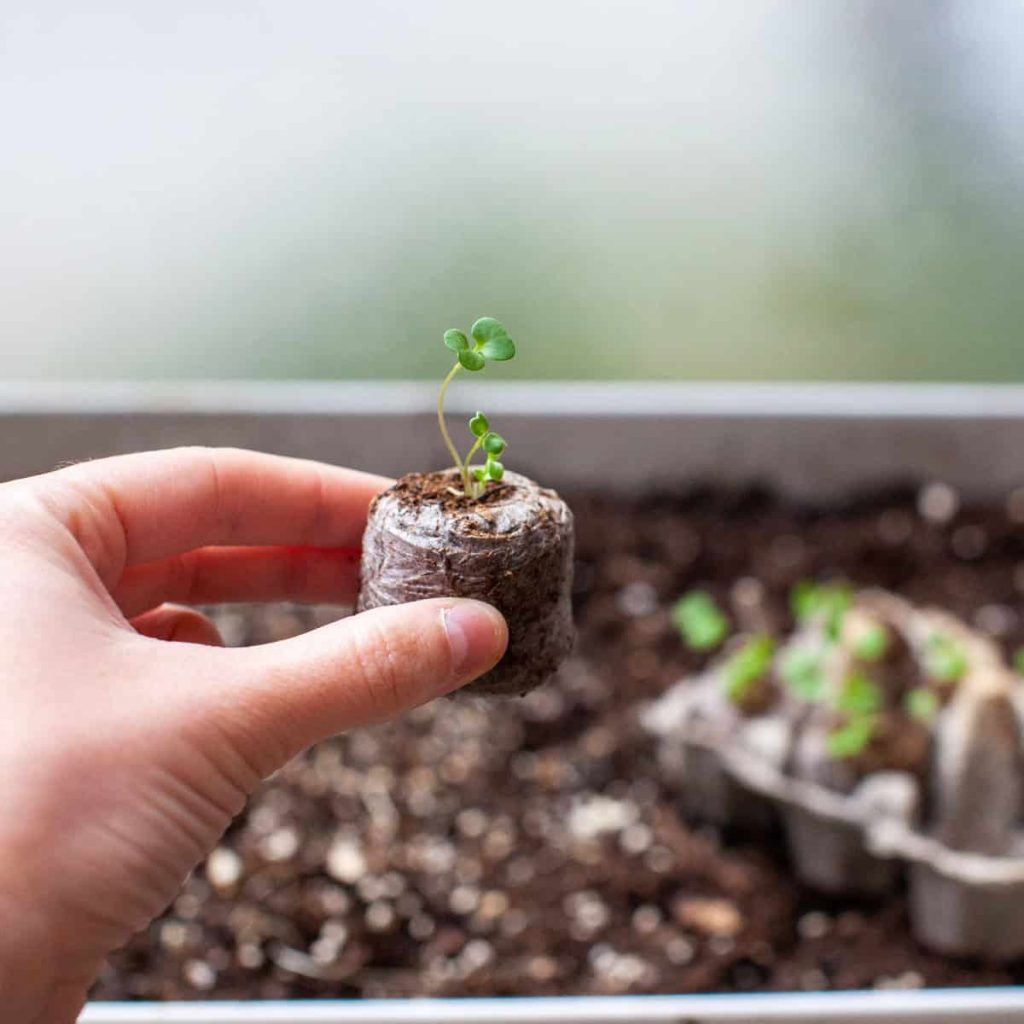
Seed starting doesn’t have to cost a fortune. I’ve grown seedlings in all sorts of recycled containers, including yogurt cups and milk cartons, as long as you poke drainage holes in the bottom. Egg cartons work for short-term use only, because they dry out fast and the seedlings outgrow them quickly.
If you reuse trays and pots from last year, clean and disinfect them first. It’s a simple step that helps prevent disease, and I share how in my post on cleaning seed starting trays. You’ll find more ideas in my post on seed starting equipment and supplies.
Choosing the Right Grow Lights
Why Window Light Isn’t Usually Enough
A sunny windowsill seems like the perfect spot for seedlings, and I wish it were. But even the brightest window provides only a fraction of the light intensity that plants receive outdoors, and in late winter and early spring the days are short and the sun is low. The result? Seedlings stretch toward the window, growing tall, pale, and floppy. Gardeners call these leggy seedlings, and they rarely recover.
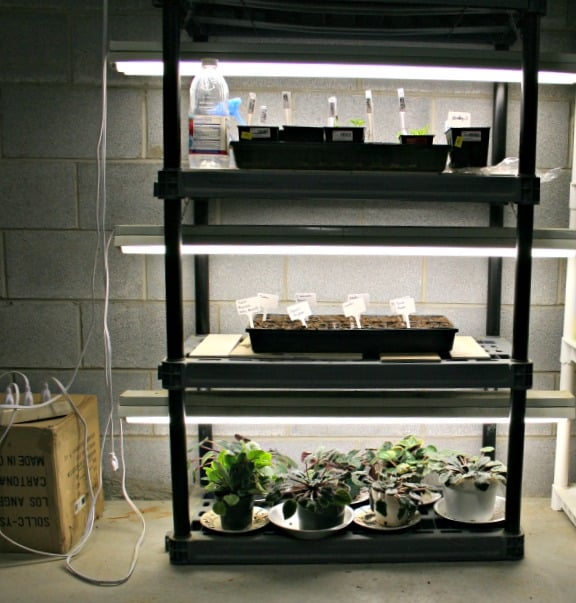
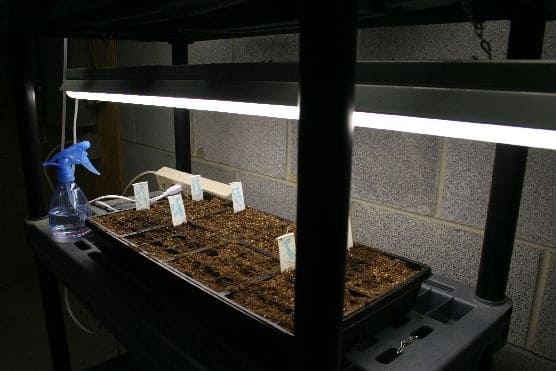
A grow light solves the problem, and it doesn’t have to be expensive. I wrote more about your options in my post on the best light for seed starting, including how to build an inexpensive light stand. I share pictures, above. It used fluorescent lights, which are fine for seed starting.
Types of Grow Lights
LED grow lights are the choice I’d recommend for most home gardeners. They’re energy efficient, produce very little heat, and last a long time. Look for full-spectrum lights that appear white to the eye.
Fluorescent shop lights are a good, affordable choice, too. They’re widely available at hardware stores and work very well for seed starting. If you already have a shop light in the garage, you’re halfway there.
Light Setup Basics
Keep your lights close, positioned 2 to 4 inches above the seedlings, and raise them as the plants grow. Adjustable chains or a light stand with adjustable height make this easy. Seedlings need 14 to 16 hours of light a day, but they need a rest period, too, so don’t leave the lights on around the clock. I’ll admit I’m forgetful, so I use a timer to keep the schedule consistent whether I remember or not.
Know the “frost free” date for your region, or the average last frost date, and use that to time your indoor seed starting activities.
Timing: When to Start Seeds Indoors
Don’t Start Too Early
It’s tempting to start everything in January. I understand! You’re longing for green growing things. But seedlings that outgrow their pots before it’s warm enough to plant outdoors become stressed, root-bound, and leggy. Patience pays off.
Use Your Last Frost Date
First, find your area’s average last frost date. Your local cooperative extension office or a quick online search will tell you. Then count backward based on what each crop needs. Your seed packet will give the number of weeks, too.
Common Timing Guidelines
Tomatoes do best started 6 to 8 weeks before your last frost, and I share more in my guide to growing tomatoes from seed. Peppers are slow, so give them a head start of 8 to 10 weeks before last frost. Broccoli and cabbage can go in 6 to 8 weeks before last frost. For annual flowers the timing varies by species, so check the packet.
Create a Seed Starting Calendar
Keep a simple chart with two columns for each crop: the date to sow and the date to transplant. Tape it up where you’ll see it, or keep it in your garden journal. It takes about twenty minutes to make, and it keeps you from the mid-February panic of realizing you forgot to start the peppers.
Wondering what to plant first? My post on seed starting indoors in February shares the best vegetables for Zones 4 through 8.
Watering Seedlings Correctly
Moist, Not Soggy
Seeds need steady moisture to germinate. If the mix dries out completely, germination stalls. But too much water is just as bad, and it’s the most common mistake I see. Soggy soil invites fungal diseases, including damping off, a nasty problem that causes seedlings to collapse at the soil line.
Best Watering Practices
Water from the bottom whenever possible. Set your cell trays in a larger tray of water and let the seed-starting mix soak it up through the drainage holes. After about 20 to 30 minutes, once the surface of the mix feels damp, empty any excess water from the tray, because seedlings should never sit in standing water. When you must water from the top, use a spray bottle or a watering can with a gentle rose so you don’t wash away seeds or flatten tiny seedlings.
Signs of Problems
Wilting seedlings may be too dry, or there could be a root problem. Yellow leaves are often a sign of overwatering. A moldy surface means too much moisture and poor airflow, so water less and add a small fan to move the air.
If something looks off, don’t despair. Everyone makes mistakes, and most are fixable. I’ve written a problem solver for just this situation in my post on seed starting mistakes and how to fix them.
Choosing the Right Soil
Use Seed-Starting Mix, Not Garden Soil
There are many different types of soil, and while it’s tempting to scoop some soil from the garden into your seed trays, please don’t. Garden soil is heavy, compacts in containers, and can carry weed seeds, diseases, and pests. Seed-starting mix is lightweight and sterile, which gives tiny seedlings the clean start they need.
What Makes a Good Seed-Starting Mix?
A good mix has a fine texture that tiny roots can move through easily, along with excellent drainage and good moisture retention. Look for lightweight ingredients such as peat moss or coconut coir.
Moisten the mix before you fill your containers. Dry peat-based mix repels water at first, so it’s much easier to mix it with warm water in a bucket or tub and let it absorb. You want it damp like a wrung-out sponge.
When to Pot Up
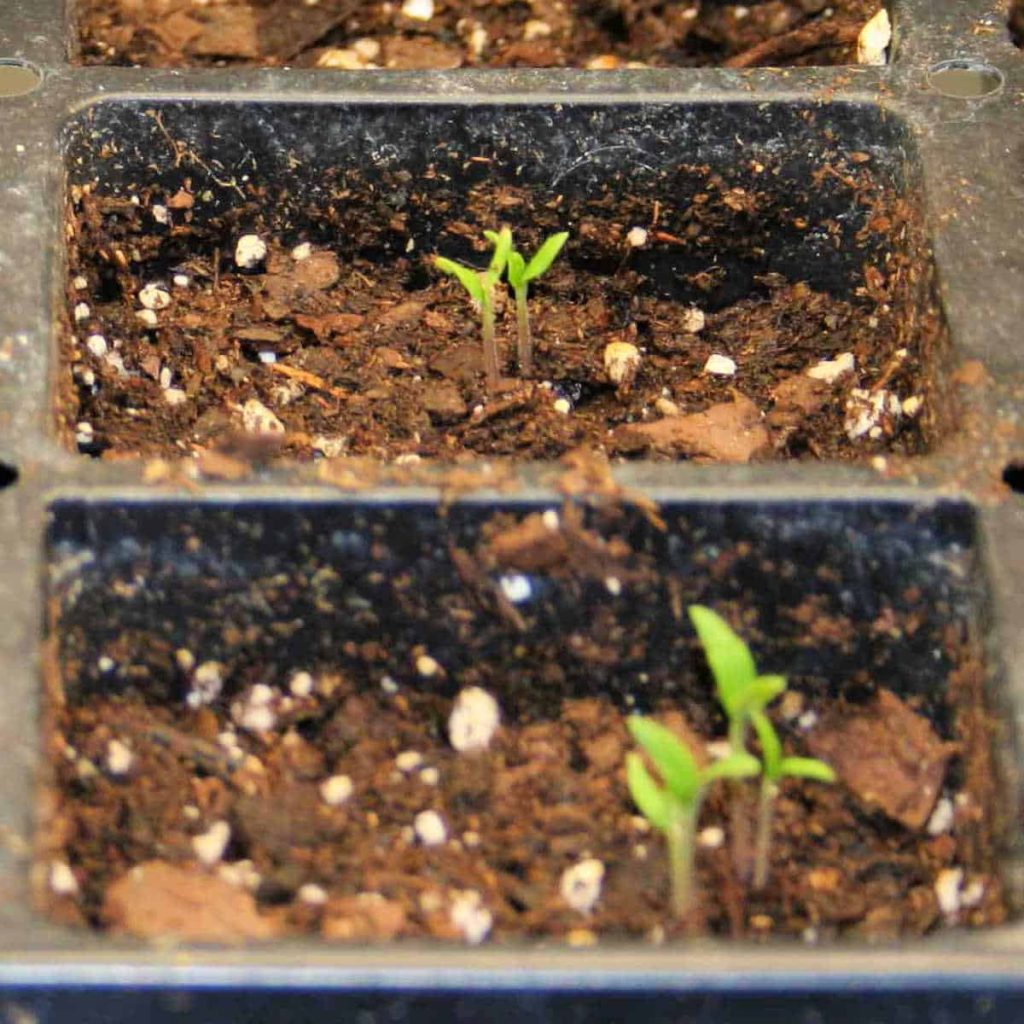
Once seedlings develop their first true leaves (the second set of leaves, which look like a miniature version of the grown plant), they’re ready for a bigger home. Transplant them into larger containers filled with a quality potting mix. Handle seedlings gently by their leaves rather than the fragile stem.
Common Beginner Mistakes
I’ve made every one of these over the years, so I say this with love. The first is starting seeds too early, so remember to count backward from your last frost date. The second is using insufficient light. A windowsill is a nice thought, but a grow light does the job. Overwatering is next, and when in doubt, wait a day. Using garden soil indoors is another, so stick with sterile seed-starting mix.
Then there’s forgetting labels. You think you’ll remember which tray is which, but you won’t, and two weeks later every tomato seedling looks identical. Finally, don’t skip hardening off. Seedlings raised indoors need time to adjust to sun, wind, and temperature swings. Set them outdoors in a sheltered spot for a few hours, then gradually lengthen the time over a week to ten days before planting them in the garden.
Start Small and Enjoy the Process
Indoor seed starting is easier than many gardeners think. Focus on the five essentials of fresh seeds, proper equipment, adequate lighting, correct timing, and proper water and soil, and you’ll be well on your way.
If you’re just beginning, start with a few easy crops. Tomatoes, basil, marigolds, and zinnias are forgiving and fun, and they’re a wonderful way to build your confidence. I have a how-to on growing basil from seed if you’d like a place to start. And if you have children or grandchildren around, invite them to help. Big seeds, like sunflowers, are perfect for small hands, and it’s a memory they’ll treasure, just as I treasure mine.
What are you starting from seed this year? Share your favorite varieties and seed-starting tips in the comments below!
More Seed Starting Resources
This post was originally written and published in February 2013. It has been completely update in November 2026 with all new text and images.


[…] Supplies you will need for growing basil from seed include: […]